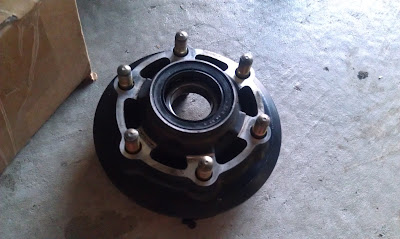
So where have I been and what have I been up to for the last month or so? Well, I've fiddled with the final drive, freshened up the valve train, reworked some suspension, and sprayed some paint.
Lets start with the '520 conversion' I installed. Back in Feburary I bought a set of aluminum 520 sprockets made by Renthal. I can't remember why I needed them but since the 7RR has a pretty tall first gear I figured new gearing (15/45 as opposed to the stock gearing of 16/42) could help.
 |
| Big box of stuff - bought in Feburary, opened in July. |
 |
| Lets see what we've got here. A 45 tooth Renthal 'ultralite' rear sprocket ... |
 |
| ... a 15 tooth Renthal 'ultralite' front sprocket (which was apprently made for either a Suzuki or Triumph) ... |
 |
| ... and a new chain! |
 |
| Off with the rear wheel |
 |
| Off with the sprocket carrier |
 |
| On with the new Renthal |
 |
| And thats the rear wheel done! |
 |
| Now for the front sprocket. How many Asian bike enthusiasts does it take to swap a front sprocket? ... |
 |
| ... apparently two, as long as one of them is armed with an impact wrench |
I should mention that the front sprocket was a massive pain to get off. Partly due to the corrosion and partly due to the nature of front sprockets. I tried everything myself; heat, breaker bars, impact wrench etc. In the end the impact wrench is what ultimately did the job but only while I got R1 Buddy to sit on the bike with the old chain hooked up. In hind sight, I should have loosened the front sprocket before removing the rear wheel! That's a tip kids, write it down.
 |
| I doubt this area has been cleaned since the bike rolled off the floor in 1996 |
 |
| Be careful of the rubber dust seal when cleaning this area. Solvent and rubber don't play nice |
 |
| New sprocket |
 |
| New washer and nut. That's it for the front! |
 |
| Now for the chain. I love how these things come packaged like meat. |
 |
| Cutting the chain down to size. Few things short of wresting with a T-Rex is manlier than cutting metal... even if it's with a dremel |
 |
| Almost there. Clip on the master link ... |
 |
| ... and we're done! Yay! |
Remember to torque the front nut before going on a joy ride. Like removing the nut, its best to have someone sit on the bike so you can torque it properly... and don't forget to bend a lip of the washer over the nut.


No comments:
Post a Comment