Long before I got my ZX7 RR N1 and started tuning the Kawasaki OEM FCRs I heard tales of how flatslides (especially FCRs) are a pain in the ass to tune. This is partly due to the number of adjustable components on the FCRs and partlyl due to some aspects of the FCRs which are counter intuitive. So far I've spent 7 days over the course of a month working on getting a baseline setup for the FCRs and as of this writing my carbs are still in pieces.
 |
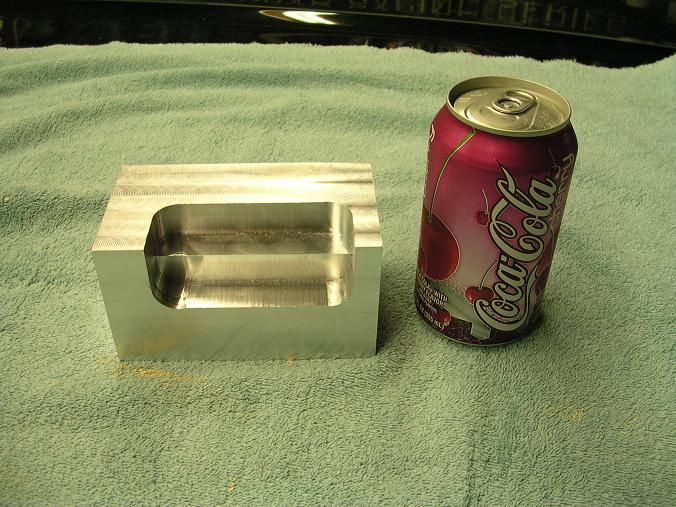
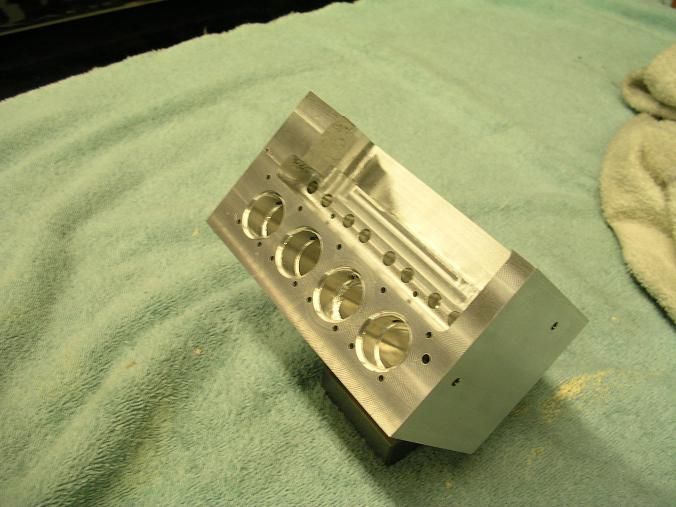
| Thinking of tuning a bank of FCRs? Get used to seeing your carbs in this state |
I'm going to start writing something of a journal that chronicles my FCR tuning adventures. Aside from being beneficial for my own records, hopefully others will find this insightful with regards to the exact effort required to make these carbs work, and how to avoid some of the pitfals that I've stumbled into.
May 4, 2012
Before I started to order parts, I needed to figure out what already sat in the carbs. After I had stripped everything out, I found that my jetting wasn't staggered; each carb was jetted the exact same way:
Main jet - 180
Main air jet - 60
Needle - N3GF
Needle clip - 4th groove from top
Pilot jet - 42
Pilot air jet - 140
Mixture screw - 3 turns out
Starter jet - 55
Float height - 7mm
Needle jet - OEM Kawasaki
Some carb fasteners had been seized and needed to be drilled out. The stock philips head screws that holded the airbox adapters were all completely finished by the time I wrestled them off. Three of the eight had to be drilled and the rest only came out with coaxing from a large channel lock plier. The needle retainer for the #1 carb also had to be drilled out which required the vacuum slide to be removed from the throttle linkage.
 |
| I hate philips heads |
 |
| #1 carb needle retainer; well f**ked |
 |
| FCR hardware removed |
In the days that followed I was advised by the 'mattbloke' at the ZX7 Owners Club to have the OEM needle jet replaced with a Keihin needle jet, the OEM spec needle with a Keihin OC-FMP needle and the pilot air jet with a pilot air screw. Additionally I ordered airbox adapter screws and needle retainers to replace the ones I destroyed.
May 16, 2012
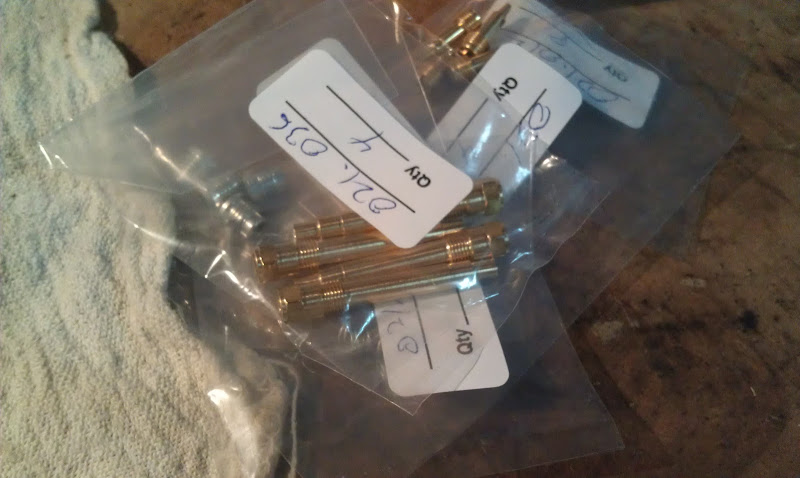
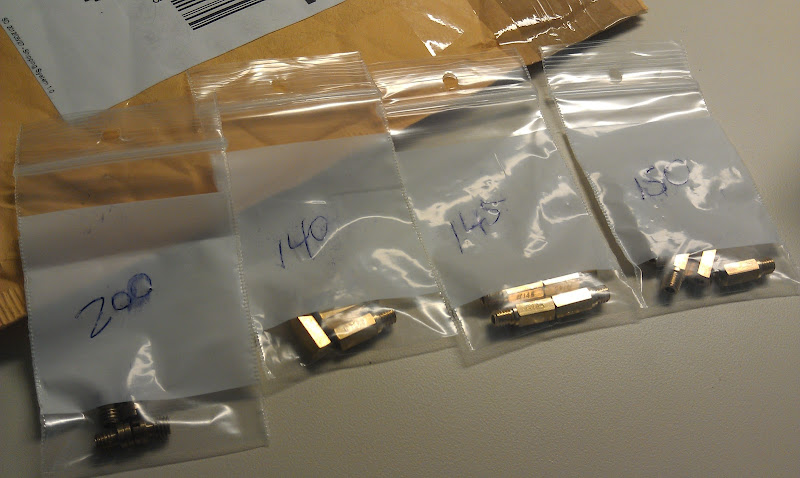
My parts from sudco came in.
 |
| My Sudco parts came in a nice padded envelope ... |
 |
| ... and nicely labeled and durable plastic baggies |
 |
| Here are the Keihin needle retainers ... |
 |
| ... compared to the stock Needle Retainers. Notice how the Keihin ones are hex drive while the OEM ones are slotted... not deeply sloted either which is why they strip easily |
 |
| Here are the pilot air screws ... |
 |
| ... compared to the stock pilot air jets |
 |
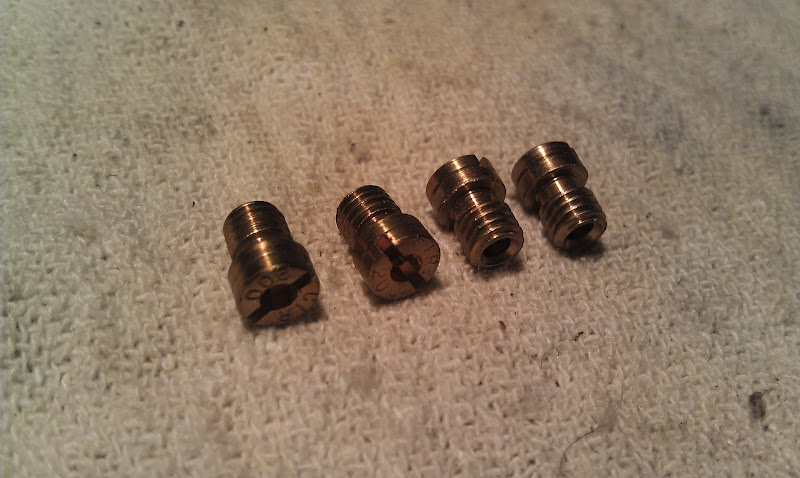
| Here are the Keihin needle jets ... |
 |
| ... compared to the stock Keihin needle jets |
Notice the massive difference between the Keihin needle jet and OEM needle jet; the bottom of the Keihin needle jet is threaded while the bottom of the OEM needle jet is plugged. There's a very good reason for this. I accidentally ordered side draft needle jets as opposed to down draft ones. *sigh*
 |
| Side draft carbs (left) VS. downdraft carbs (right) |
As you can see in the picture above (which are extremely crude representations of carburetors), the side draft carburetor main jets screw into the bottom of the needle jet while the down draft carburetor main jet screws into the carb body with the needle jet blocked off.
 |
| Idle air screw installed |
 |
| Needle retainers installed |
 |
| #1 slide installed and balanced |
At the end of the day, the only real tuning change I had made was the replacement of the idle air jet with the idle air screw... which I adjusted to 2 1/4 turns out... which was the equivallent of a 140 idle air jet... which is what I had installed already... so an argument could be made that no tuning changed had really been made. Now THAT'S progress.
May 26, 2012
The last packet I received from Sudco contained no needles because they were back ordered. 10 days later they arrived at my door.
 |
| New needles |
 |
| New needles |
 |
| New needle VS. old needle |
 |
| New needle VS. old needle |
 |
| New needle VS. old needle |
It looked like the OCFMP needles were quite a bit thicker than the the OEM needles and were a bit heavier too. I tried different clip positions with the bike on the paddock stand and decided that the clip in the 7th groove (richest) made the smoothest revs. I buttoned the bike back up and took it to work the next day.
 |
| Swapping needles is pretty simple and can be done with the carbs still on the bike |
The bike seemed to occasionally stutter a bit at crusing speeds/throttle openings. It seemed like the 7th clip position may have been too rich after all. Too much fuel must have been sucked into the motor and caused misfires. In addition, I couldn't get the bike to idle smoothly. When I got home, I set the needle clip position to the 4th (middle) groove.
The commute to work the next day was nothing short of frightening. At 1/4 throttle, the bike kicked, bucked and stuttered like it had a supersized seizure. From 1/4 throttle to 1/2 throttle, the bike made no power at all and above 1/2 throttle, the bike goes into warp drive! What made for an even scarier ride was the vacuum slide stuck open once I was past 1/2 throttle. The only way to stop was to cut the throttle completely. The bike was an unridable mess.
I didn't know exactly what to make of the stumbling but I did find that the #1 carb slide didn't move freely. Perhapse I had installed it incorrectly when I replaced the needle retainer. I removed the vacuum slide and noticed that one of the top roller bearings did not turn freely. Some WD40 dislodged a small piece of crud from the inner rails of the bearing. Hopefully that will resolve the sticky vacuum slide issue.
May 31, 2012
My new DOWN DRAFT needle jets finally came in after I returned the side draft ones (at a 20% restocking fee)
 |
| Finally! Proper needle jets! |
 |
| New needle jet VS old needle jet |
 |
| New needle jet VS old needle jet |
 |
| The new jet seems to be shorter, and with less holes |
From what I could tell, the new needle jets were the primary type while the old needle jets were the bleed type. I'm not sure how this is significant. Maybe I'll figure it out some day.
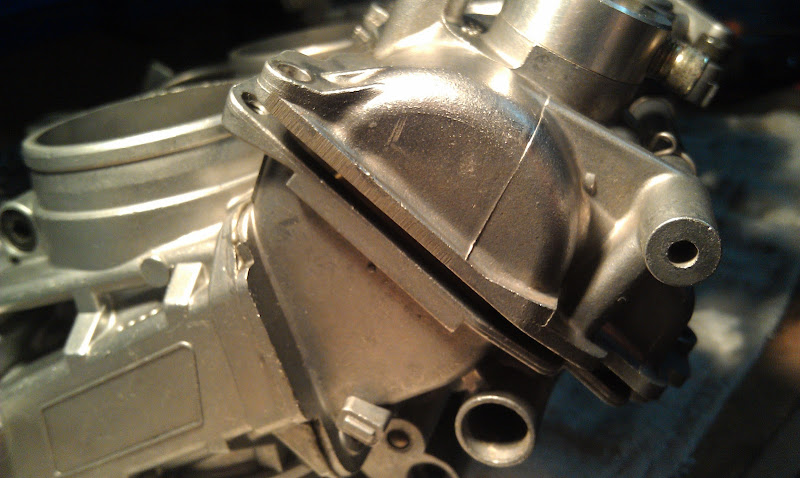
At this point I had spoken with some local ZX7 riders with FCRs and it seems that in addition to all the crap I've already ordered I'll need smaller main jets and larger main air jets as well. While I waited for those, I blocked off the enricher circuit as advised by 'mattbloke'.
 |
| This will get plugged up |
June 8, 2012
My jets arrived and in preperation to install them, I had to set the float bowls to the appropriate height first. According to
Mr. Patrick Burns this height should be 9mm.
 |
| Setting float heights, like doing anything else, is much easier with the proper tool |
 |
| Now I'm ready for my new jets |
 |
| Main air jets. Annoyingly, not Keihin. Made by 'CIR' apparently, whatever that is |
 |
| New main air jets VS old main air jets |
 |
| New main air jets installed |
 |
| Main jets (140s shown) |
 |
| New main jets VS old main jets |
 |
| New main jets installed |
The eagle eyed observer will have noticed the new jets were long hex type jets while the old ones were shallow and round type jets. Longer jets were prefered over shorter ones because they reach deeper into the float bowl which prevents situations where the fuel level may fall below the reach of the main jet under hard acceleration (ie. the bike drinking more fuel than the float bowls fill).
Now all I have to do is bolt the floats togethehr and I should notice a dramatic improvement in fueling.... except there's one problem.
 |
| My #4 float bowl (on the right) is shallower than the others ... |
 |
| ... which wasn't a problem when I was using the old jets but the new jets are too long and bottom out before the float bowl can be closed. |
Here is how my jetting has changed since I started playing with the carbs:
Main jet - 180
Main air jet - 60
Needle - N3GF > OCFMP
Needle clip - 4th groove from top
Pilot jet - 42
Pilot air jet - 140 > pilot air screws 2 1/4 turns out
Mixture screw - 3 turns out
Starter jet - 55
Float height - 7mm > 9mm
Needle jet - OEM Kawasaki > OEM Keihin
I won't have any idea how these jetting would feel until I can get my float bowl situation sorted out. Here are my options:
- Buy a new set of Keihin float bowls
This is the easiest approach (in terms of effort) but also the most damaging to my wallet. A set of new float bowls from Sudco will cost around $450.
- Replace #1 and #4 float bowls only
With the float bowls from Sudco costing only $200, this is a much more economical approach and just as easy. The caveat is that my flot bowls will look wack. Yes I know the carbs are hidden under the tank but I'm a bitch about stuff like this.
- Buy a spare set of FCRs
If $450 gets me a set of float bowls, $500-$600 can occasionally fetch an entire set of aftermarket FCRs off ebay. If I'm going to spend money anyways why not get more bang for the buck. The problem here is I'll end up with two sets of carbs and only one set of 'working' float bowls. So unless I'm prepared to designate the second set of FCRs as 'scrap' then I may be just creating more problems for myself.
- Modify the existing float bowls
From the pictures above you can see that the OEM FCR sumps are pressed into the bottom of the float bowl. I could probably cut/press them out and then tap threads to take a standard Keihin FCR bolt type sump. This is by far the cheapest approach but also carries the risk of messing up my expensive float bowls
Decisions decisions....