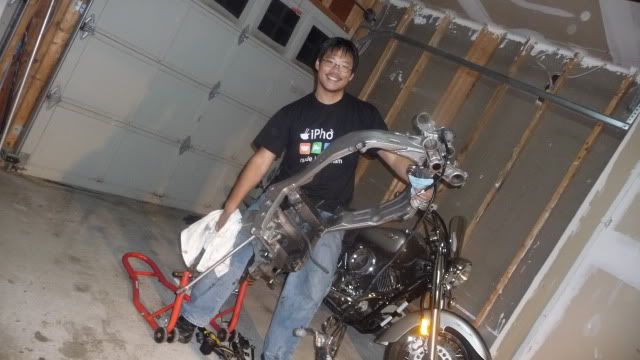
Well, my R1 buddy and I had quite a weekend, highlighted by strained muscles and punctuated by sore wrists (not as sexy as it sounds). But in the end we managed to wrestle the mighty 749cc out of it's lofty frame. Here's the story.
So I start off this morning Saturday staring at the same bike I left last Sunday; on a jack, held in by the friction from a single engine mount collar that I can't unscrew.
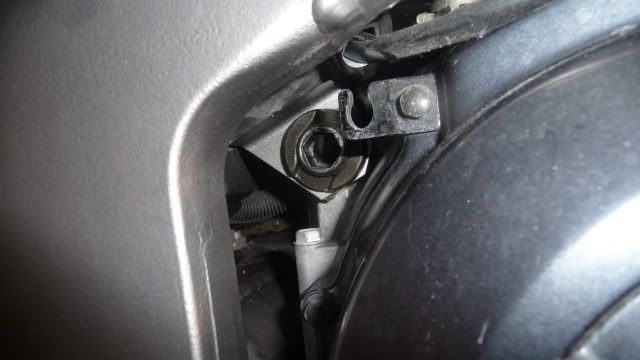 |
| DAMN YOU KAWASAKI OEM PART NUMBER 92015-1846 |
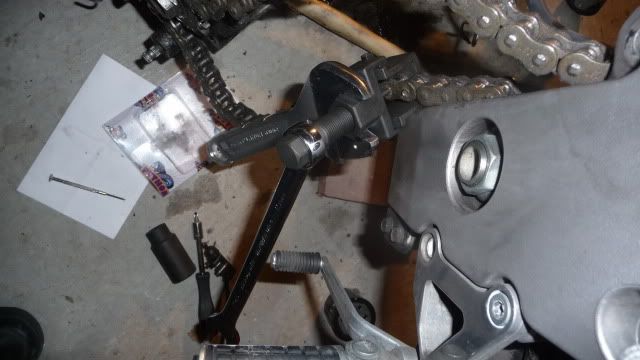
I decided to have another go at loosening the collar by myself using a little tool that came with my bike. The tool is basically a really big hollow hex bolt with some holes at the end so you can stick in something to torque it with. Here is the result of that endeavor:
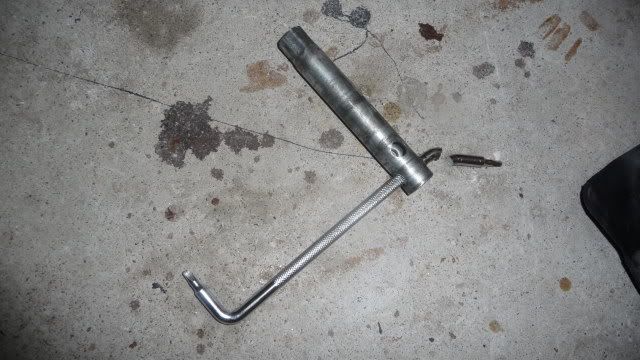 |
| Nutters! |
 |
| DOUBLE nutters! Screw this! |
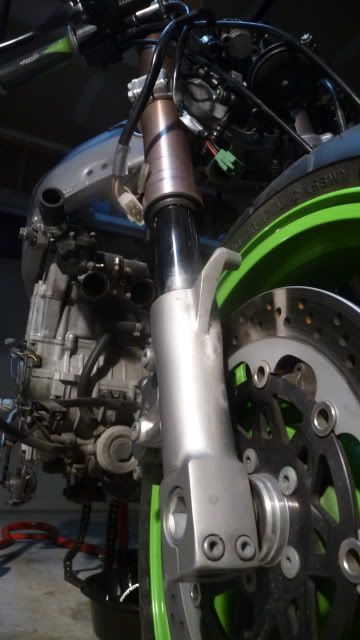
I decided to take my frustration out on the forks.
 |
| *insert witty comment* |
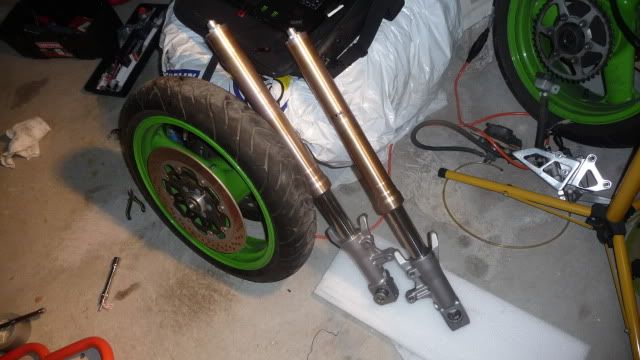 |
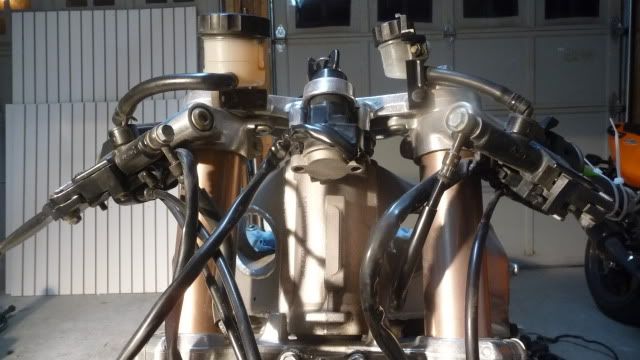
| It's GOLD baby! |
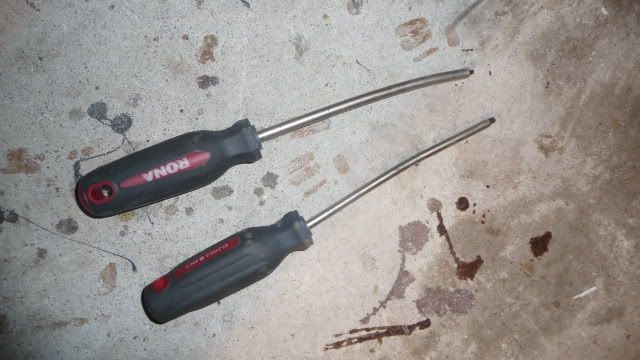
Removing the forks unfortunately did nothing for my engine collar situation. Having ruined several tools (at least three as far as you know) trying to remove it, I come to the painful realization that it may have been cheaper and ultimately less stressful to simply go down to the auto parts store and pick up something purpose-built for this kind of job. Enter the Titan 24" Ratcheting Breaker Bar.
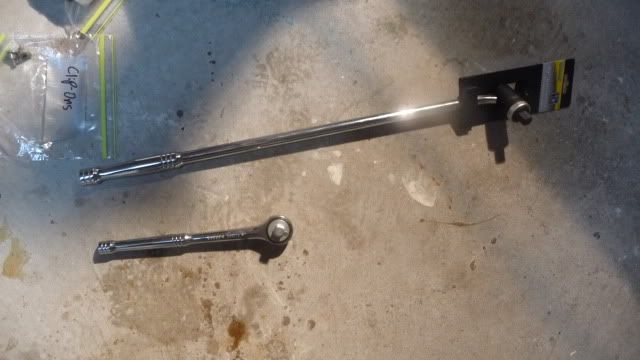 |
| Size matters.... alot |
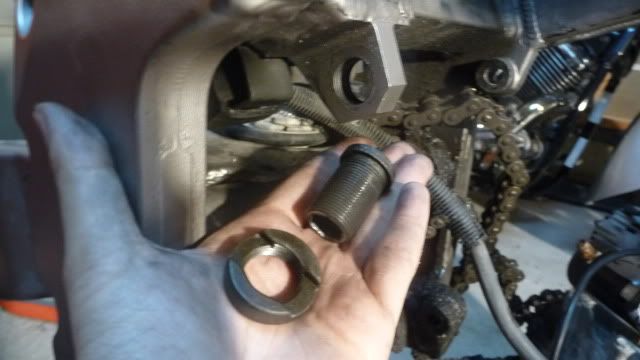 |
| Oh yeah! What now, collar?! WHAT NOW?!? |
 |
| Booyah! |
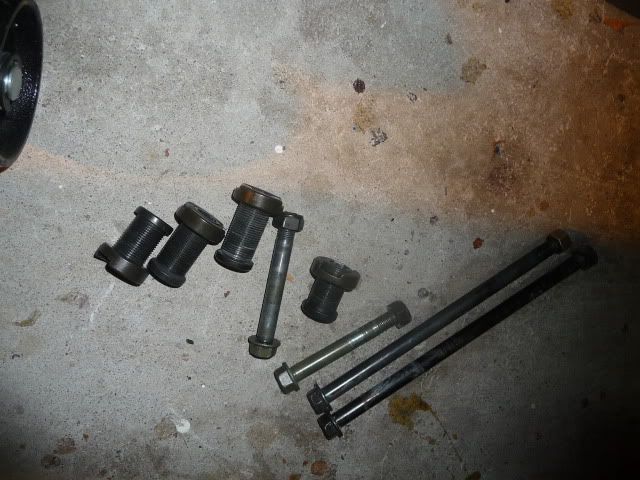 |
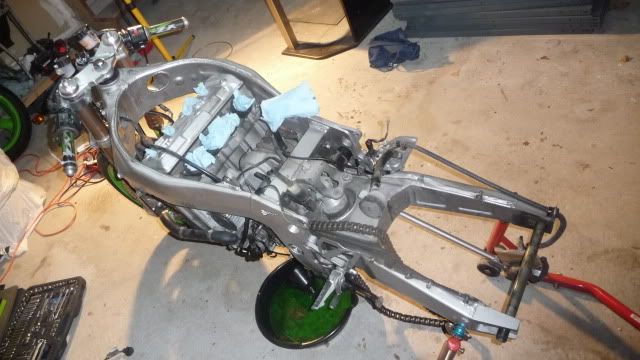
| All the mounting hardware finally off the frame! |
The lesson learned is that you must break AT LEAST three things before going out and seeking a proper solution.
Now R1 buddy joins me.
 |
| He's back to steal my enigne! |
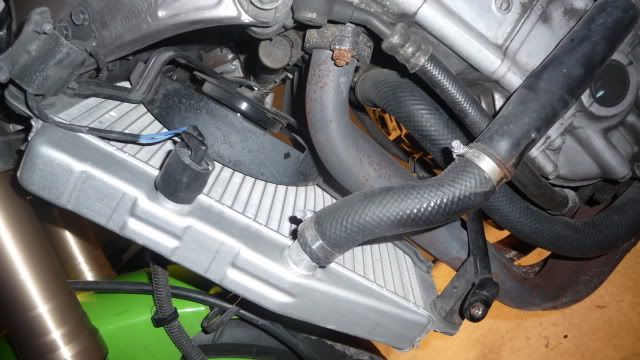
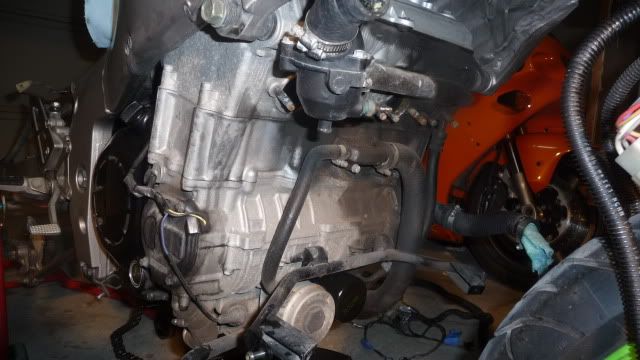
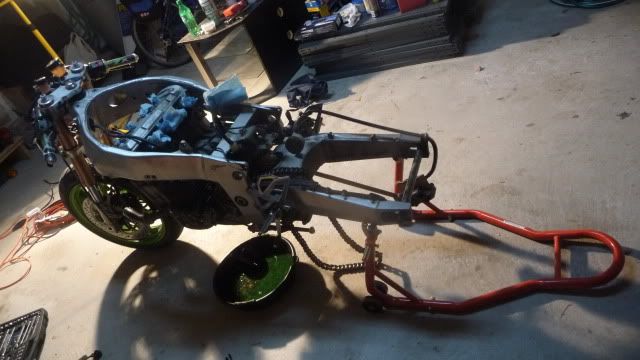
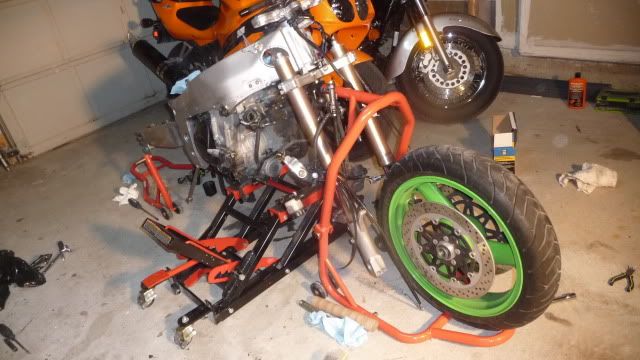
The engine dropped easily with the last mounting collar removed. With it completely off the frame and teetering on the jack I stumble upon two startling revelations.
- In my infinite wisdom, I didn't remove the front sprocket or break the chain. So even with the engine completely detached, it's not wandering far from the frame!
- In my infinite foresight, I didn't think of a place to put the engine after it's been removed.
So R1 buddy and I take turns holding the 200 pound engine up while we try to figure out what to do next. This is very tiring because not only are we straining our arms (give us a break, we're weak little Asian boys), we have to THINK!
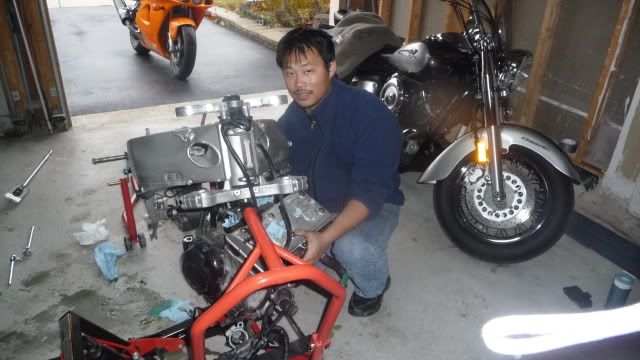 |
| Dude put that shit down and help me with this blasted motor! |
Once our arms were effectively jello, it hit us...
 |
| A mallet! |
With the engine stable, R1 buddy and I take a break to regain feeling in our limbs. I wonder why neither of us thought of this earlier. Anyways, after we were done seeing spots, R1 buddy decides to go rob a bank while I tidy up and go look for a chain breaker.
 |
| Fill the bag lady! DON'T LOOK AT MY FACE!! |
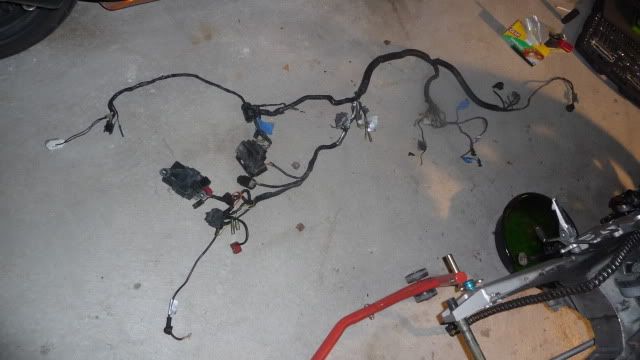
 |
| Bags o parts! |
 |
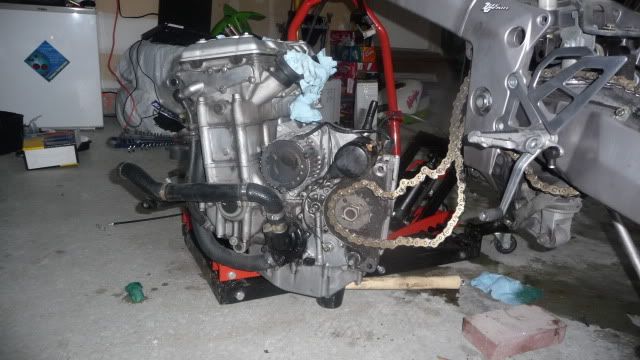
| It's not going anywhere |
 |
| Notice all the concrete stains! My floor is crying! |
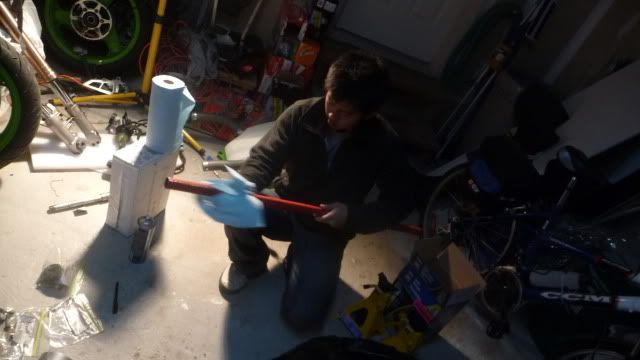
A local bike shop, sells me a DID knock-off chain breaker. I'm in a rush so there's no room for ethics today.
 |
| Going to town on my chain |
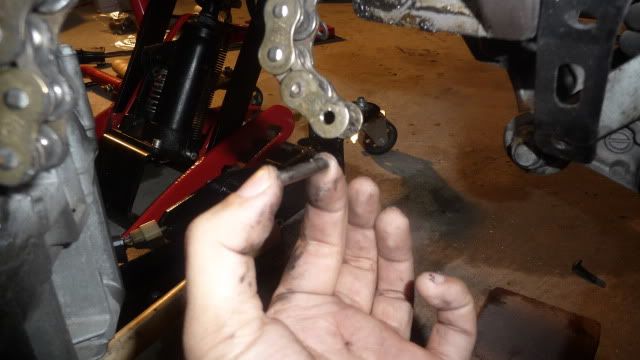 |
| The DID knockoff got the job done... |
 |
| but not without some damage to itself. Are all chain breakers like this? |
My R1 buddy returns unscathed from his shady dealings and together we lift the liberated engine to its temporary resting place.
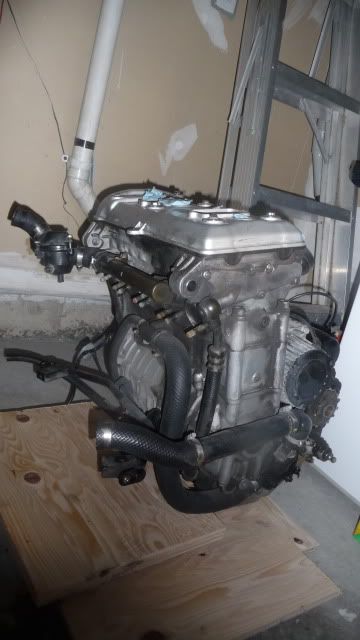 |
| A pile of plywood |
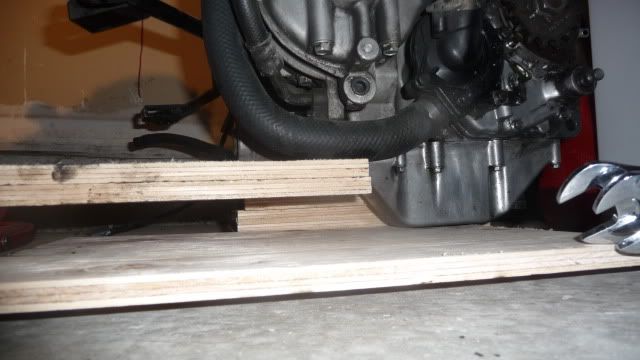 |
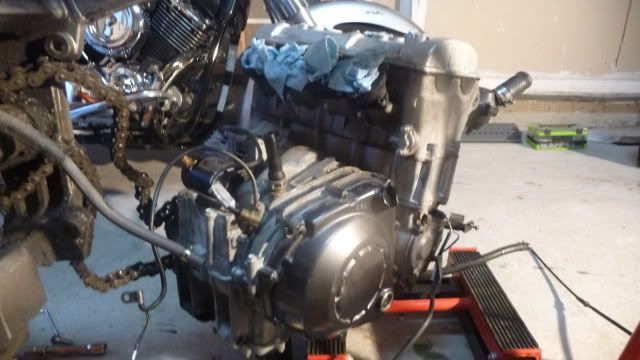
| With the plywood piled just right, the engine is actually fairly stable. |
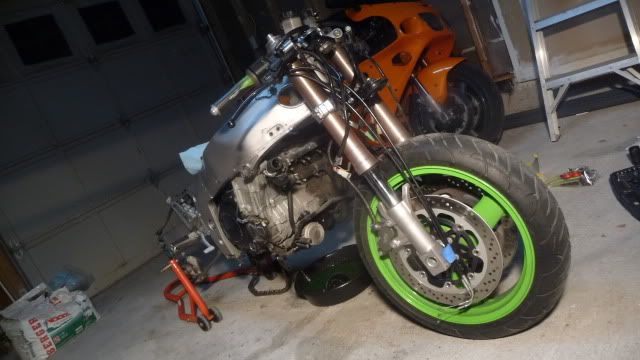
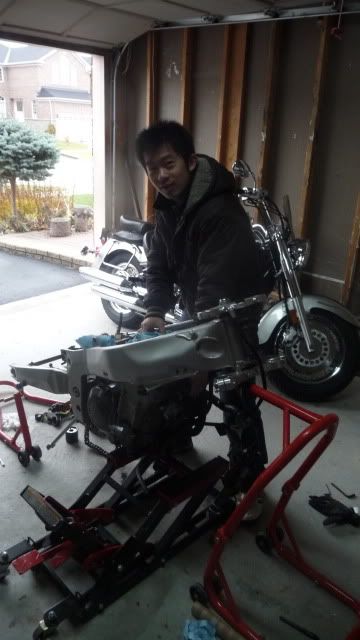
 |
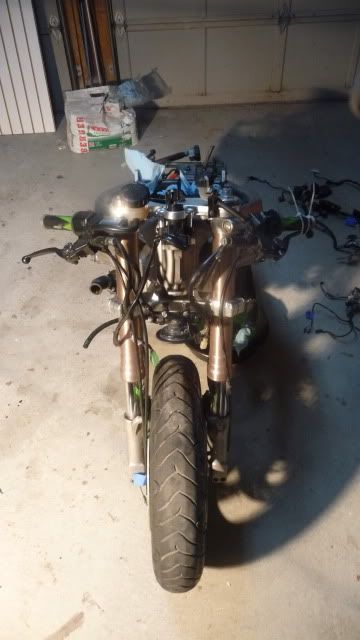
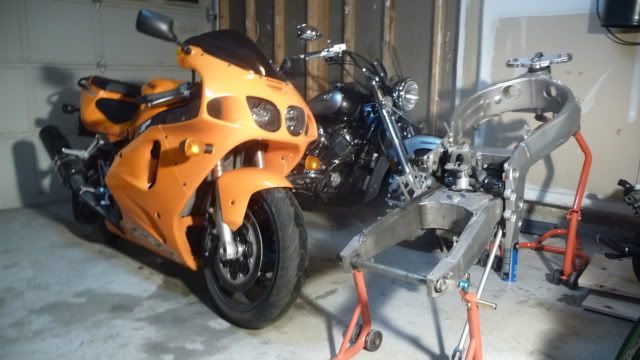
| Without the engine, the frame is ludicrously light. Even my Jello arms can pick it up just fine! |
 |
| R1 buddy vigorously polishes his jack pole to a bright red shine. Sexy mood lighting for the win! |
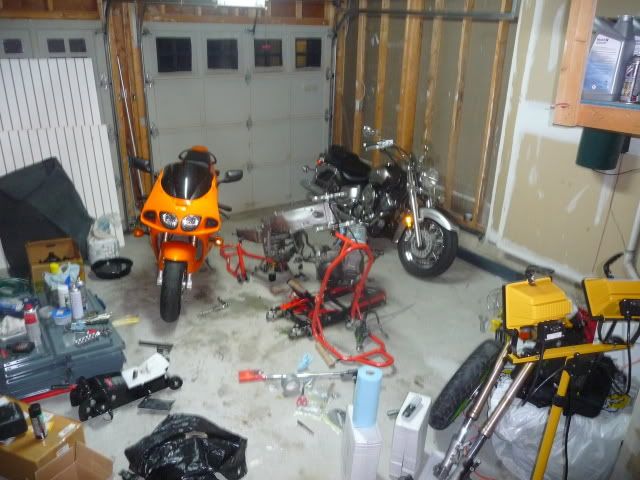
With the engine dropped and the frame tucked away, the garage is much neater thus ending the domestic turmoil and saving my marriage!
 |
| Neater garage = happier wife |
 |
| Not too shabby if I do say so myself |
For more pictures, visit my photobucket album
here.