Tuesday, December 28, 2010

Weird Plastic Shit

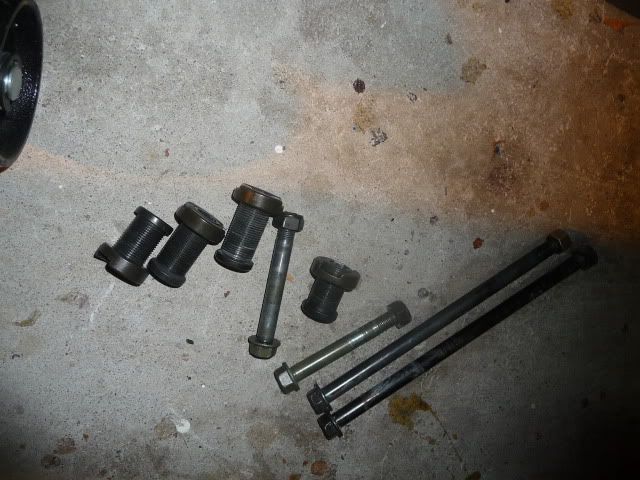
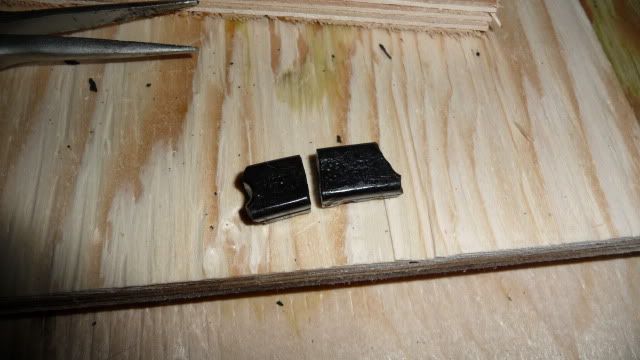
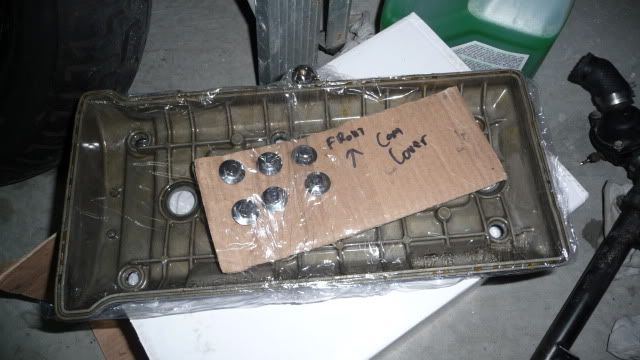
So when I took out the camshaft cover yesterday, I failed to mention that a couple of plastic bits fell out. I was scared shitless because I thought I may have tapped the cover too hard and snapped something. But after taking apart the entire top end of the engine, it seems like they don't even belong to the engine at all.... at least not to the top half where it fell out.

If anyone knows what this is, PLEASE tell me

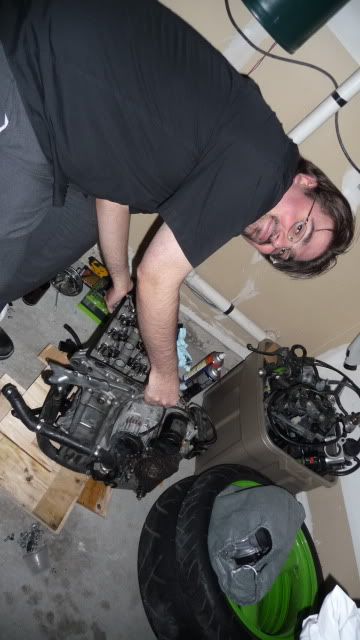
Anyways, I had my buddy over to help me take the cylinder head off. Man those 10 screws are torqued TIGHT. Whenever I tried to turn it, the whole engine, proped up on wooden boards, would turn with it... and believe me, without a second pair of hands, its difficult to stop it from doing that.

My more fair-skinned second pair of hands


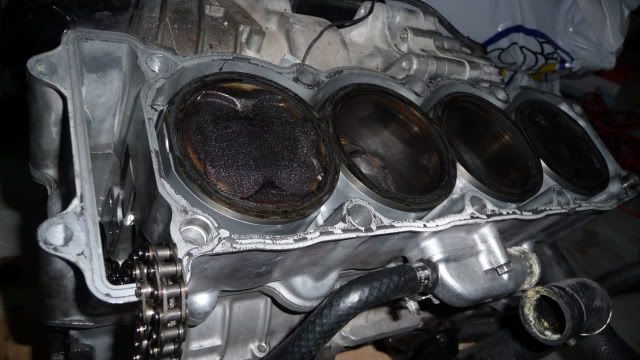
After taking the screws holding the cylinder head to the cylinder, the entire top half of the engine just kinda pulls out with a few taps of the hammer.


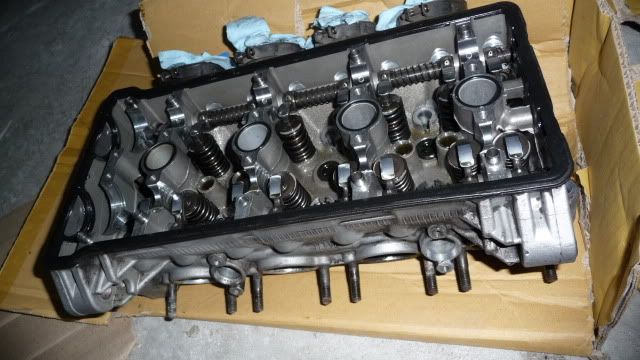
Cylinder head off ...

BAM!

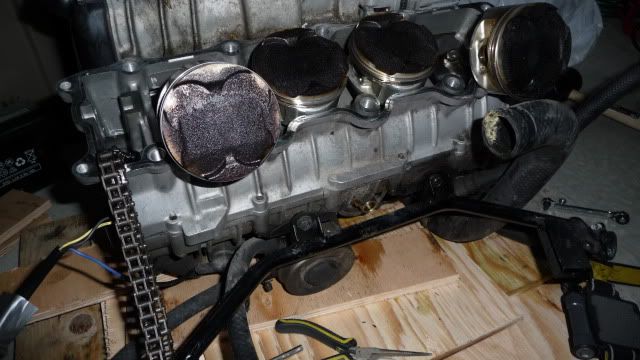
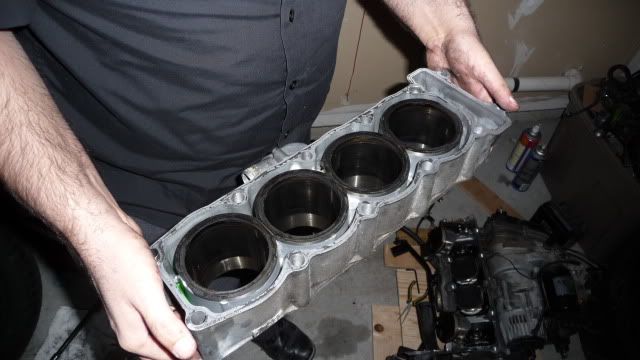
Cylinders off...

BOOM!


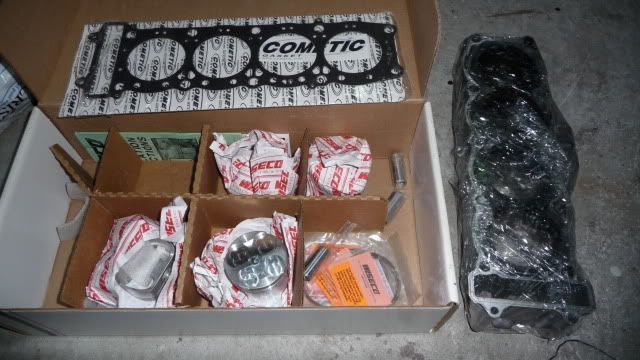
Got my bore kit, my cylinders, and I'm ready for the machine shop :)


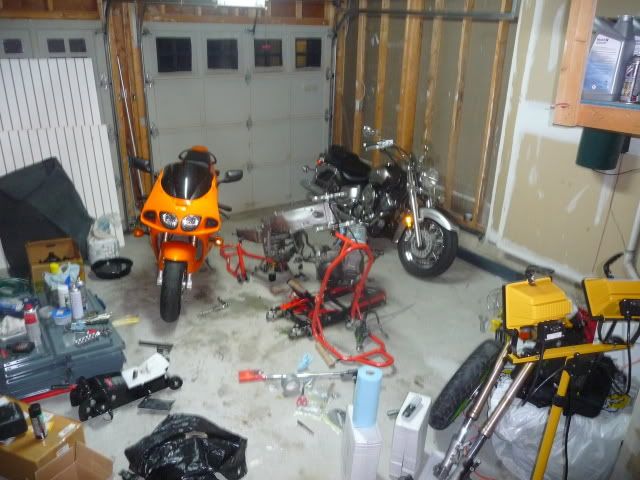
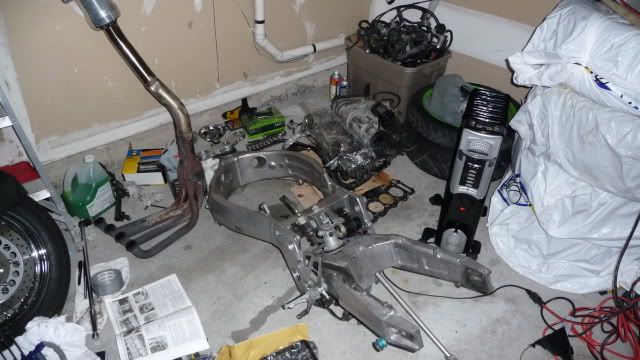
So much for my tidy garage

For more pictures, refer to my photobucket album.

Monday, December 27, 2010

The cold must be getting to me

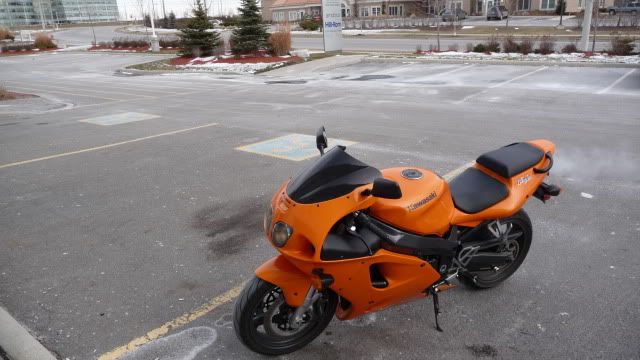
Christmas day, -17 with windchill; perfect day for a ride don't you think? Yes ladies and gentlement, I'm still out and about. An old columbia 3/4 length coat, jeans, and lots of thermal liners keep the ride bearable but I'm starting to look for some proper winter riding gear - maybe some touring stuff with good armor.

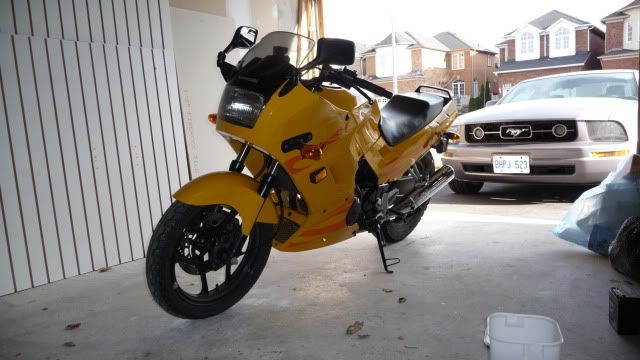
ZX7: "Brrrrr... store me away already jackass!"


Nothing destroys personal projects quite like the holiday season. All the christmas cheer was just too much for my senses. Over the past few days I've been cleaning my engine blocks a bit in preperation for removing the cylinders for boring.


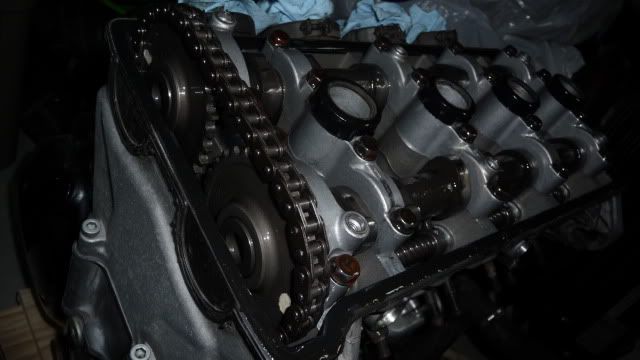
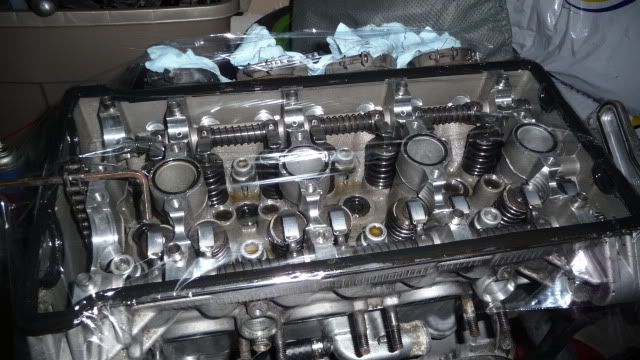
I started off by removing the camshaft cover and wrapping it up


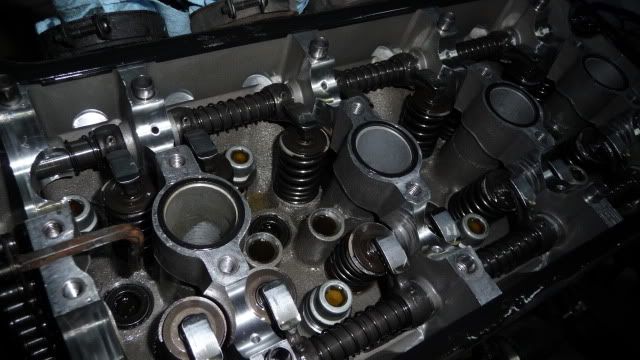
I've seen engine tops in pictures so many times but it looks a lot cooler in person


Now, here is where I seriously screw up. I don't know exactly what came over me but instead of loosening the bolts that hold the camshafts in I tigthen them... quite a bit before realizing what I've been doing. So now I suspect that at the very least the bolts are jacked. I just hope the threads themselves are okay *crosses fingers*. Anyways, I eventually realize that a boob I am and start loosening things.

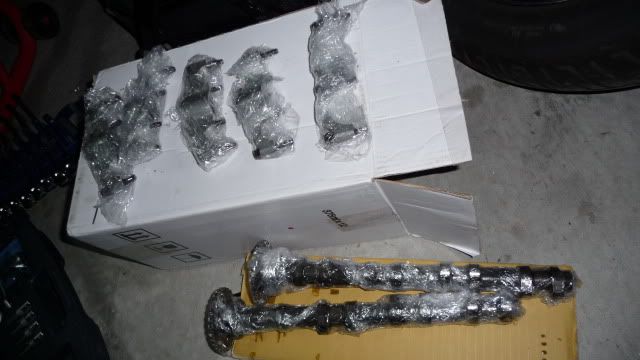
The camshaft holders eventually come out ...

and everything gets neatly wrapped


Now all that stands in my way and the cylinder block is 10 bolts holding the cylinder head in.

For more pictures, go to my photobucket album.

Sunday, December 5, 2010

The power of Pine Sol

While I wait for Pine Sol to work, my neighbour brings over his 2005 Ninja 250 for winterization.

The legendary EX250


My first bike was a 2009 EX250R so I have a soft spot for the little 250cc machines. This was my first time workingn on the older ones and my neighbour was kind enough to let me ride his bike around the block. The 2005 EX250R was a little more powerful than my stock 2009 EX250R but was much weaker than my 2009 after it's carb needles were shimmed. *sigh* I miss my 250

I return to the carbs


The Pine Sol cleaning came out with mixed results. My 4 part Pine Sol and 1 part tap water solution had some positives and negatives. Lets start with the positives.

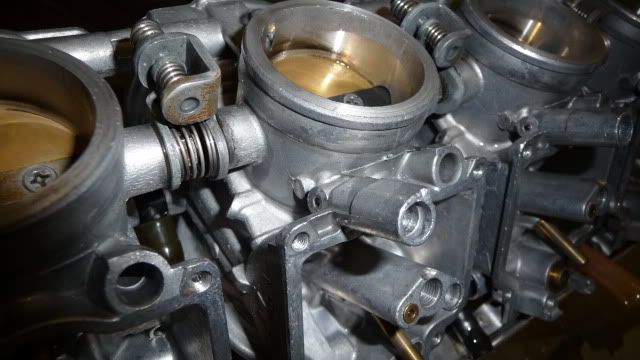
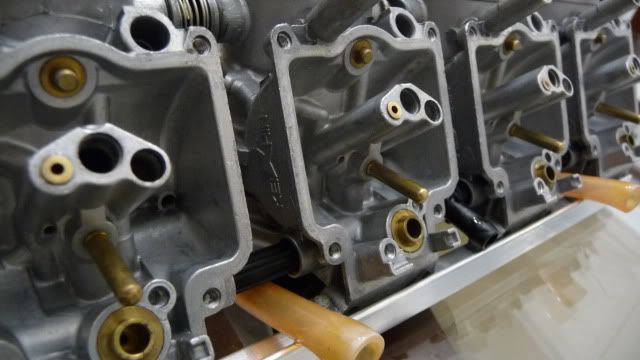
For starters, the gunky parts came out pretty much spotless

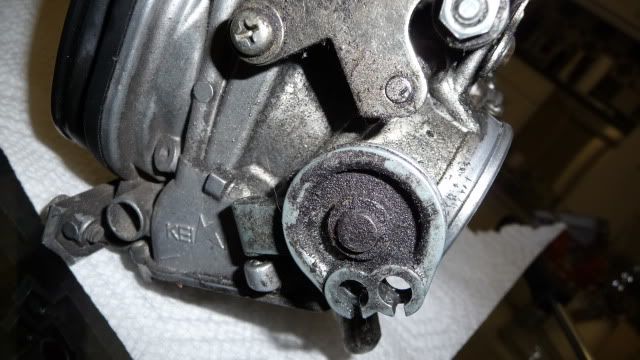
Before ...

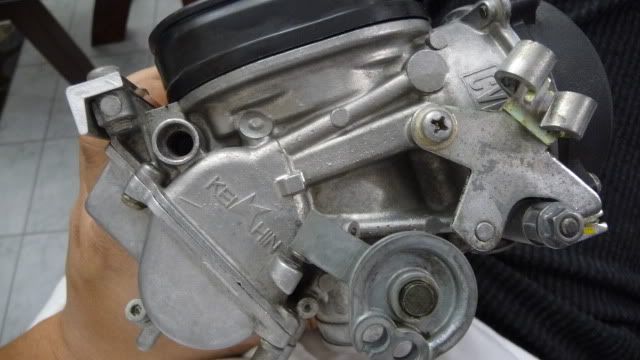
... and after

Before ...

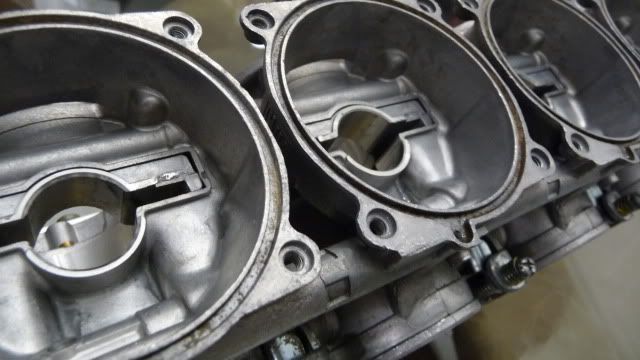
... and after (from a different angle)


Now for the not so good. To begin, it looks like the Pine Sol took off the finish on most of the screws and bolts. I suppose if I were to do this again, any finished parts need either a much weaker solution or less soaking time.

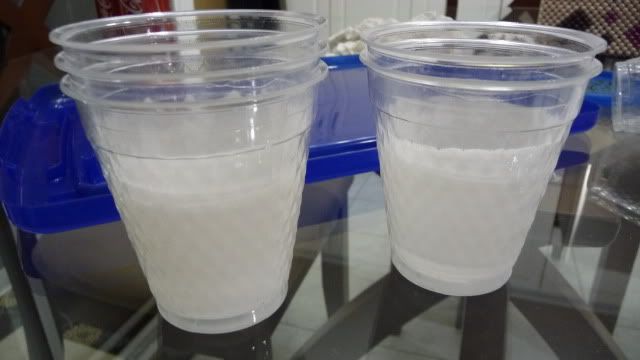
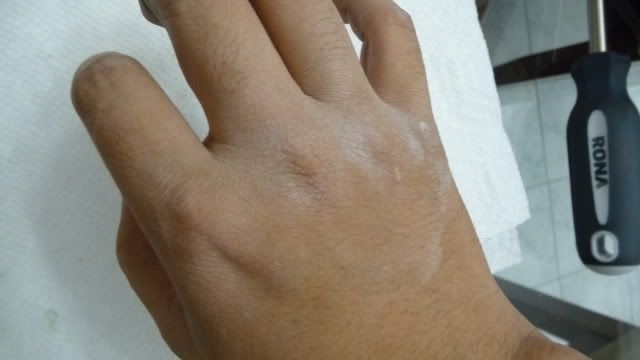
Another not so good thing is that I noticed some white residue on some surfaces. Not sure how serious this is. I plan to disassemble the carbs again and take a rotary tool to it, probably with a buffing or abrassive tip.

The white crap even stuck to the inside of the cups ...

... and my hands!


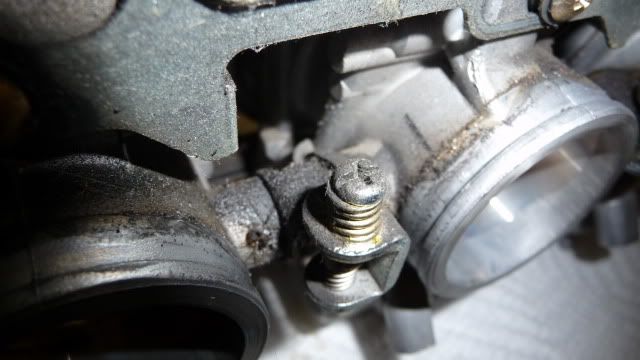
Lastly, it appears some of the REALLY tough stains didn't give up the ghost.

Some crud comes off with a bit of rubbing ...

... but Pine Sol is no match for the REAL tough shit


For a $2 cleaner, Pine Sol did great but a tad more work with a rotary tool will do wonders, I'm sure. Some more pics:

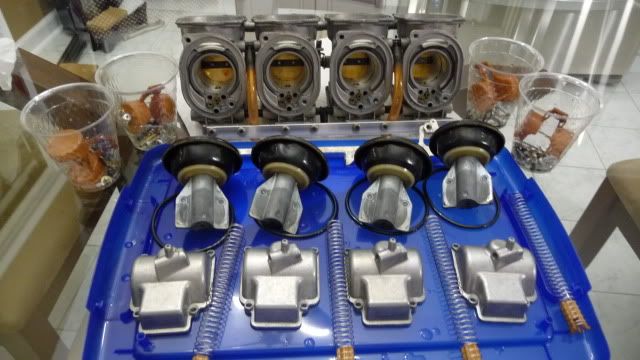
All dried up and ready for assembly

One carb at a time

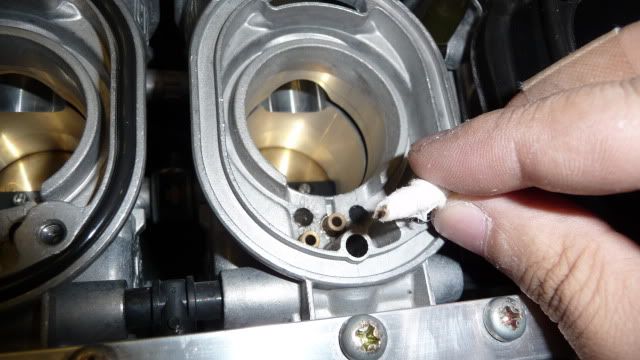
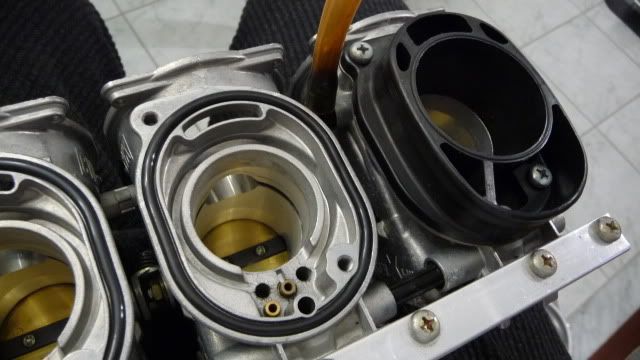
Sexy holes; carbs are full of em

A little grease helps make a better seal

For screws too!

Done!

I'm gonna really focus on cleaning up these carbs. Partly because I want good control over properly atomized fuel but partly because I want to explore potential problems before I start working on any other parts. Come to think of it, the carbs really should have been the LAST parts I tried to clean. Oh well. Onwards and upwards!

You can see more pics of my carb cleaning on my photobucket account here.

Saturday, December 4, 2010

Fun with Carburetors

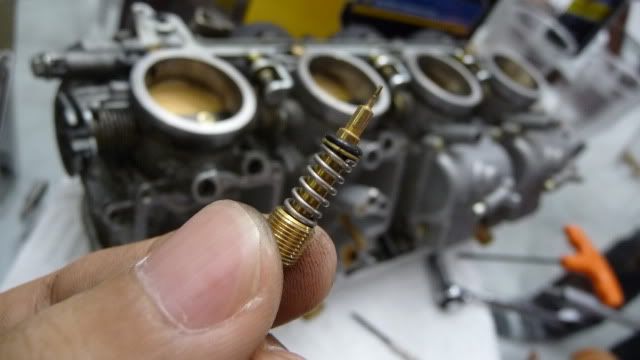
Nothing like tearing into my bike after a long business trip! I read a forum posting while I was on the road about cleaning carburetors. The posting had several postings hailing Pine Sol as one of the greatest carb cleaners of ALL TIME.


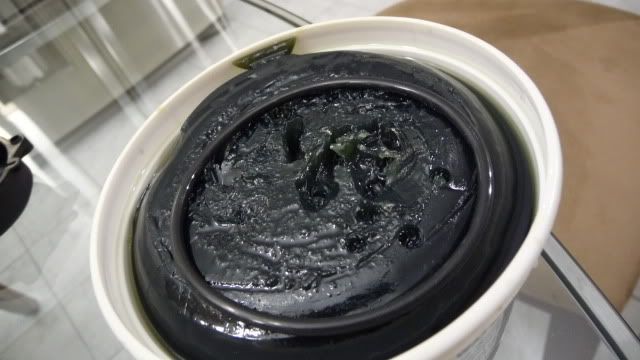
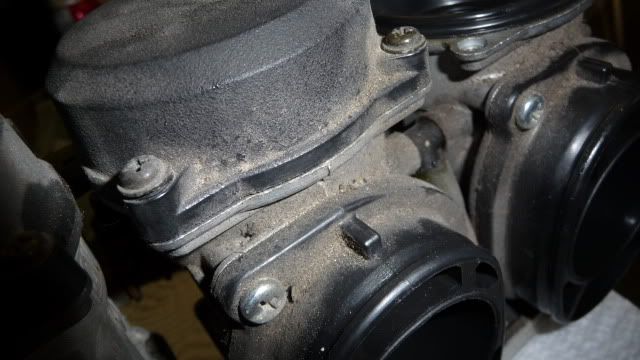
Nasty stuff

Oh look ma, more gunk!


The idea of a cheap, effective, and deliciously scented carb cleaner tickled my fancy. So down I went to Canadian Tire on a mission to buy two bottles of the stuff... but they were on sale so I bought four.

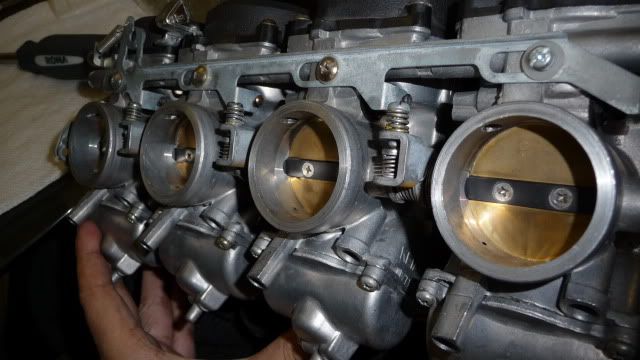
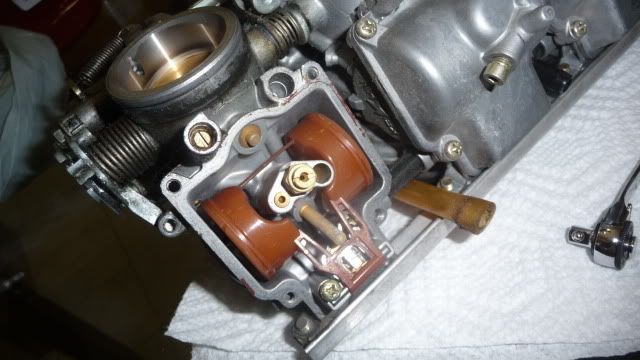
I rummaged through all the crap I've taken off the bike and find the clunky Keihn. DAMN these things are heavy. Starting from the right (while sitting on the bike) I undo the first set of float bowl screws.

So clean you could... put fuel in it

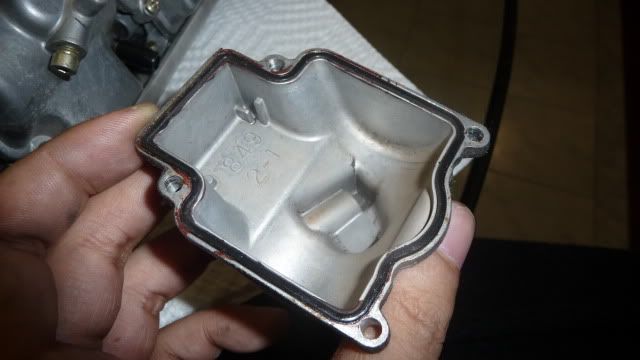
Mostly clean save for some fuel stains


More fuel stains. Think Pine Sol can move this stuff?


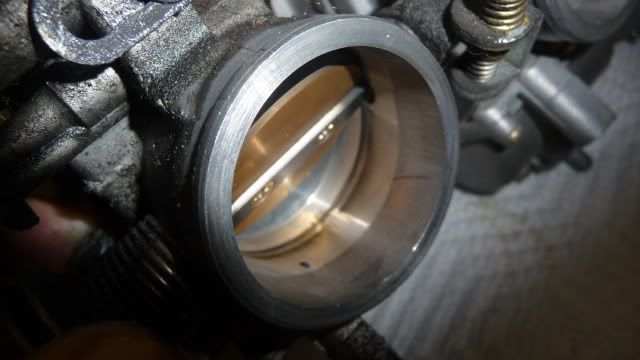
Not a terribly relevant picture, but I like the focus of the shot


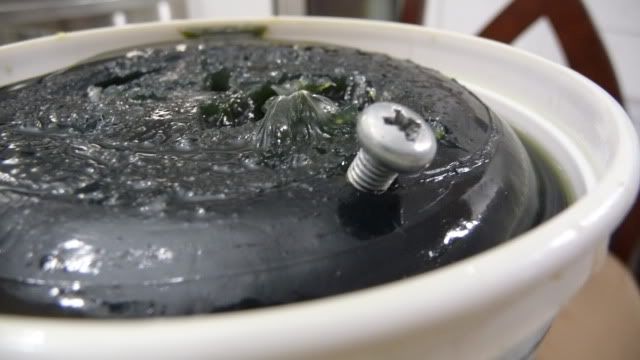
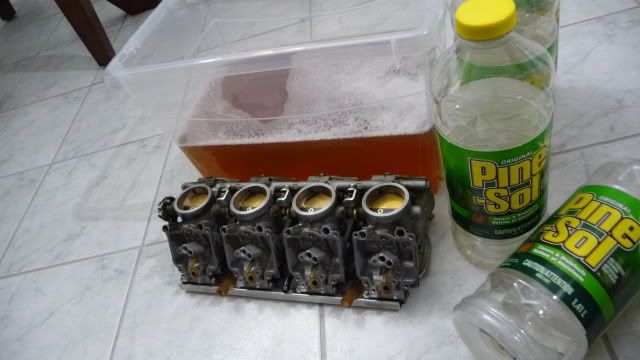
It was a good thing I bought four bottles of Pine Sol because I had to top it off with a bottle of water to submerge the whole carburetor.

In it goes


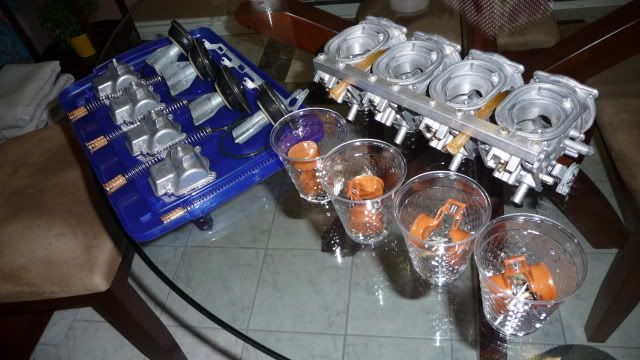
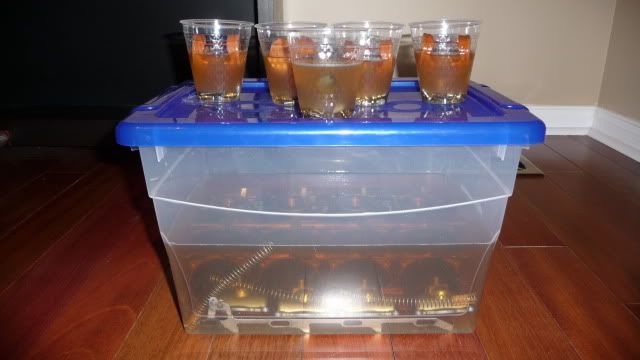
As the carbs came apart, I put the various pieces in little cups. Four ups for four carburetors and a fifth cup for misc. parts.

Can't wait to see how they turn out

Wednesday, November 24, 2010

It's FINALLY out!

Well, my R1 buddy and I had quite a weekend, highlighted by strained muscles and punctuated by sore wrists (not as sexy as it sounds). But in the end we managed to wrestle the mighty 749cc out of it's lofty frame. Here's the story.

So I start off this morning Saturday staring at the same bike I left last Sunday; on a jack, held in by the friction from a single engine mount collar that I can't unscrew.
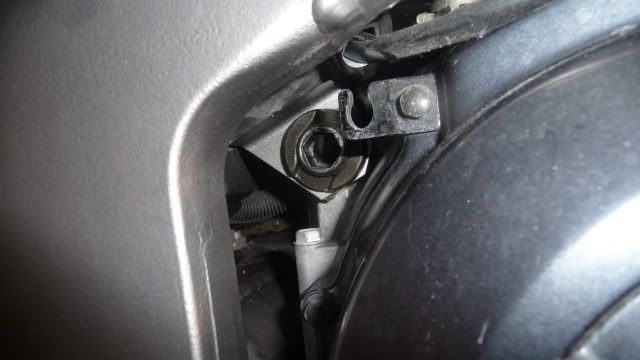
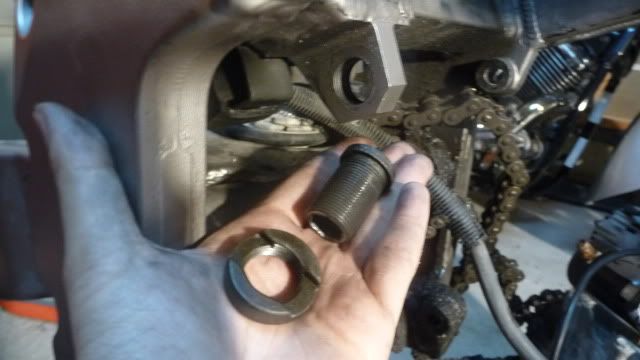
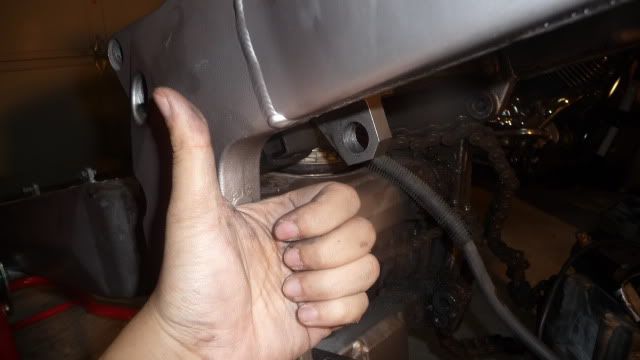
DAMN YOU KAWASAKI OEM PART NUMBER 92015-1846


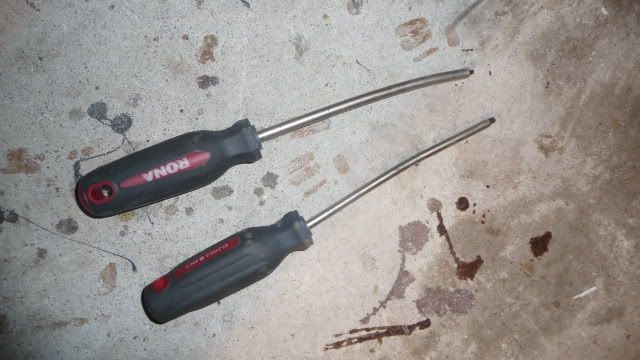
I decided to have another go at loosening the collar by myself using a little tool that came with my bike. The tool is basically a really big hollow hex bolt with some holes at the end so you can stick in something to torque it with. Here is the result of that endeavor:
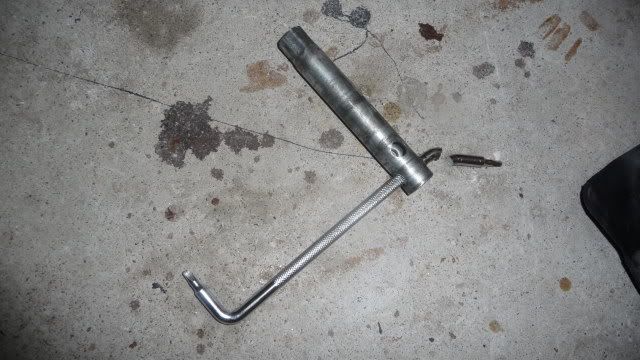
Nutters!

DOUBLE nutters! Screw this!


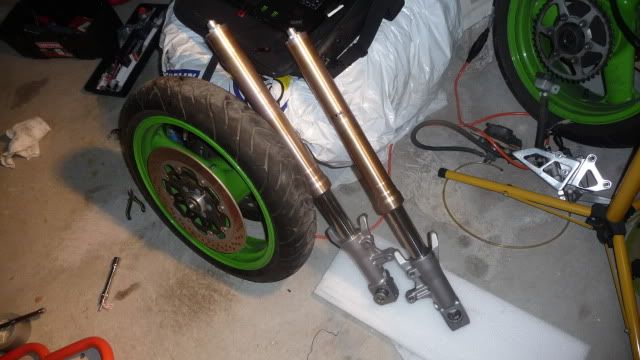
I decided to take my frustration out on the forks.
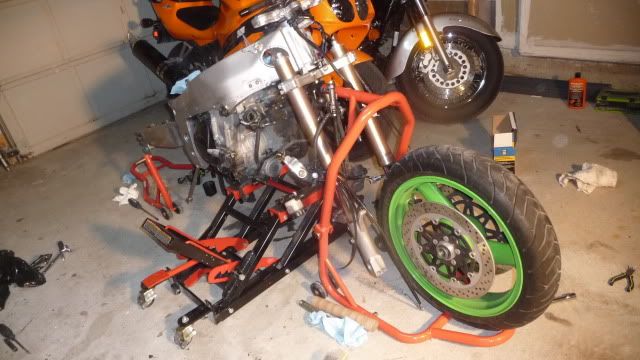
*insert witty comment*

It's GOLD baby!


Removing the forks unfortunately did nothing for my engine collar situation. Having ruined several tools (at least three as far as you know) trying to remove it, I come to the painful realization that it may have been cheaper and ultimately less stressful to simply go down to the auto parts store and pick up something purpose-built for this kind of job. Enter the Titan 24" Ratcheting Breaker Bar.
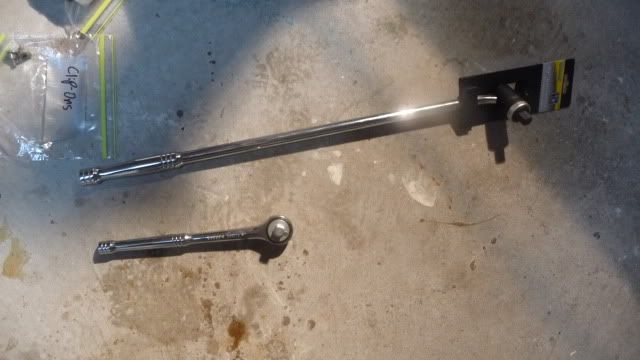
Size matters.... alot

Oh yeah! What now, collar?! WHAT NOW?!?

Booyah!

All the mounting hardware finally off the frame!


The lesson learned is that you must break AT LEAST three things before going out and seeking a proper solution.

Now R1 buddy joins me.
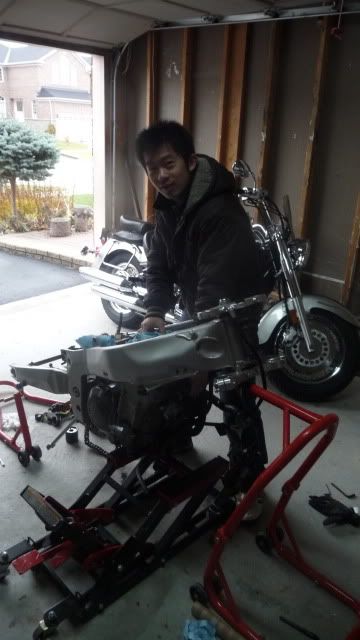
He's back to steal my enigne!


The engine dropped easily with the last mounting collar removed. With it completely off the frame and teetering on the jack I stumble upon two startling revelations.

  1. In my infinite wisdom, I didn't remove the front sprocket or break the chain. So even with the engine completely detached, it's not wandering far from the frame!
  2. In my infinite foresight, I didn't think of a place to put the engine after it's been removed.

So R1 buddy and I take turns holding the 200 pound engine up while we try to figure out what to do next. This is very tiring because not only are we straining our arms (give us a break, we're weak little Asian boys), we have to THINK!
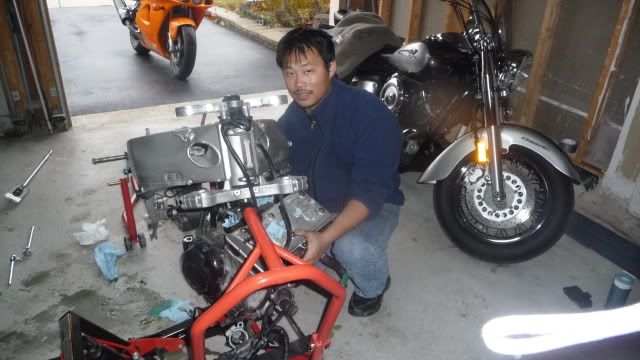
Dude put that shit down and help me with this blasted motor!


Once our arms were effectively jello, it hit us...
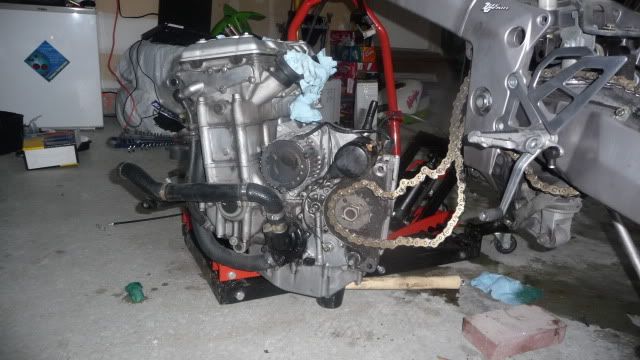
A mallet!


With the engine stable, R1 buddy and I take a break to regain feeling in our limbs. I wonder why neither of us thought of this earlier. Anyways, after we were done seeing spots, R1 buddy decides to go rob a bank while I tidy up and go look for a chain breaker.
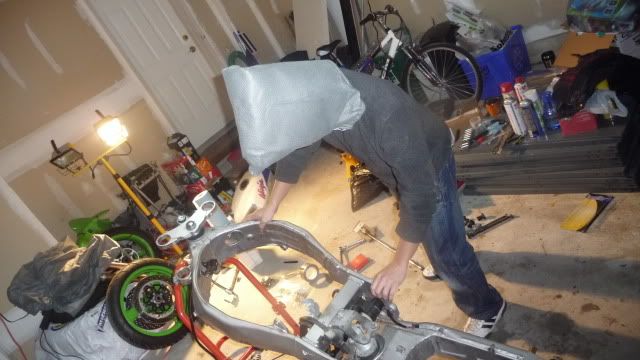
Fill the bag lady! DON'T LOOK AT MY FACE!!

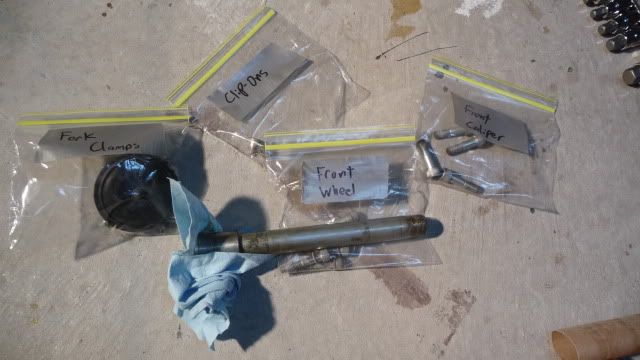
Bags o parts!

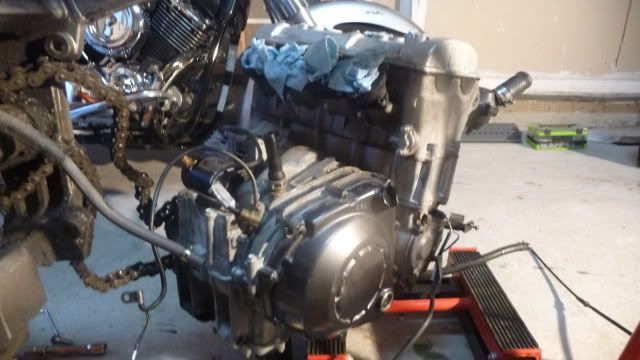
It's not going anywhere

Notice all the concrete stains! My floor is crying!


A local bike shop, sells me a DID knock-off chain breaker. I'm in a rush so there's no room for ethics today.
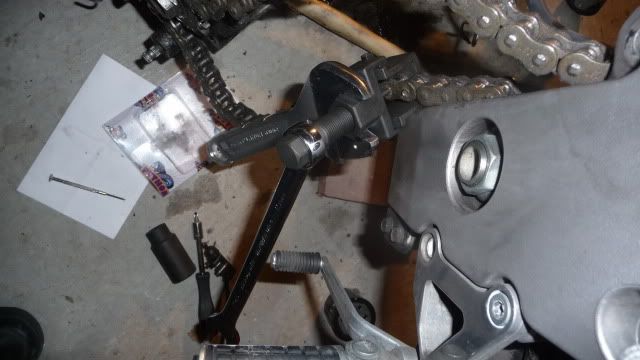
Going to town on my chain

The DID knockoff got the job done...

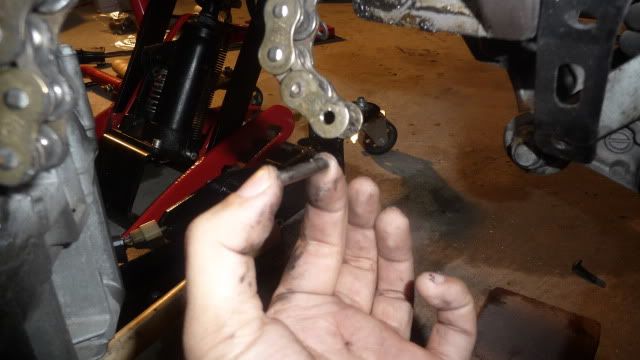
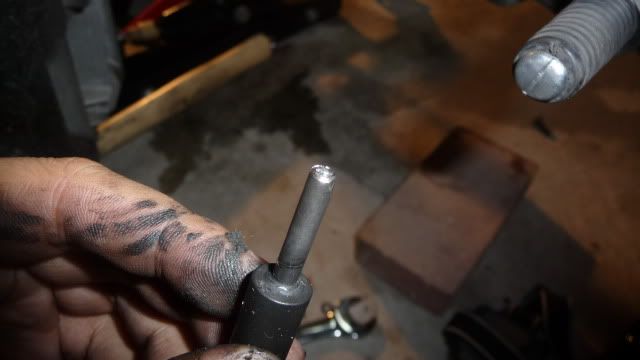
but not without some damage to itself. Are all chain breakers like this?


My R1 buddy returns unscathed from his shady dealings and together we lift the liberated engine to its temporary resting place.
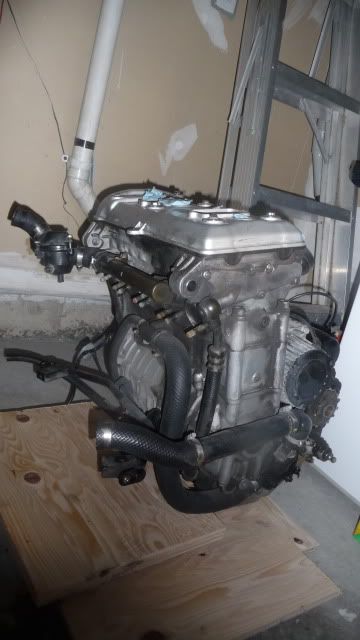
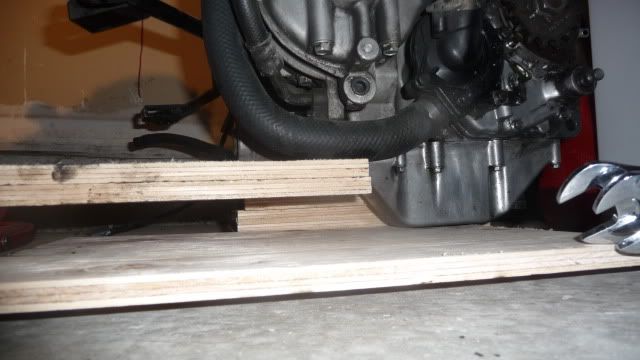
A pile of plywood

With the plywood piled just right, the engine is actually fairly stable.

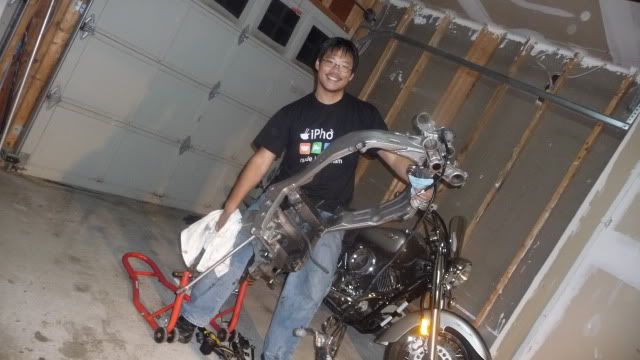
Without the engine, the frame is ludicrously light. Even my Jello arms can pick it up just fine!

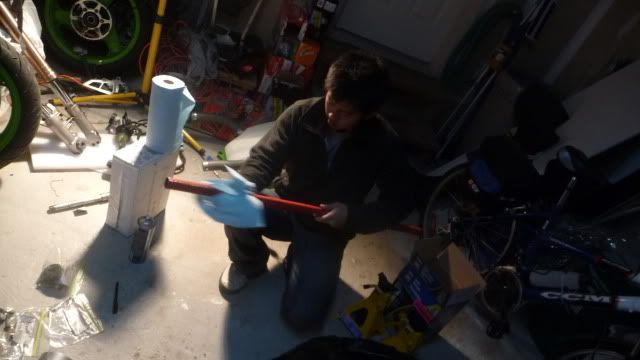
R1 buddy vigorously polishes his jack pole to a bright red shine. Sexy mood lighting for the win!


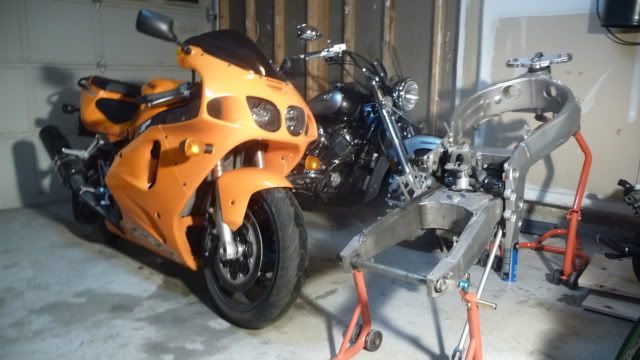
With the engine dropped and the frame tucked away, the garage is much neater thus ending the domestic turmoil and saving my marriage!
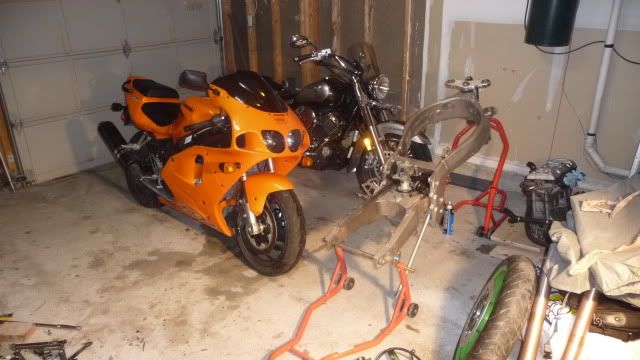
Neater garage = happier wife

Not too shabby if I do say so myself


For more pictures, visit my photobucket album here.