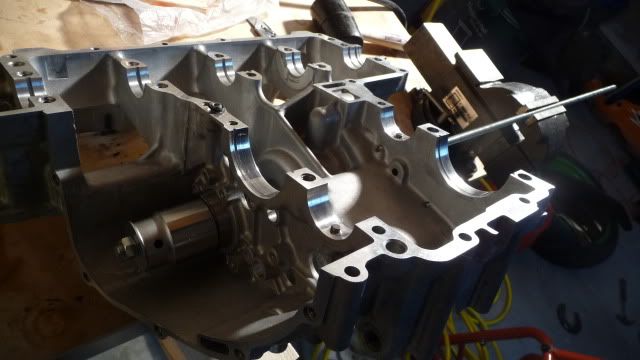
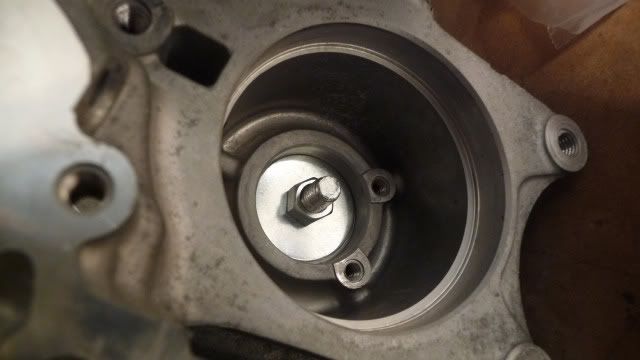
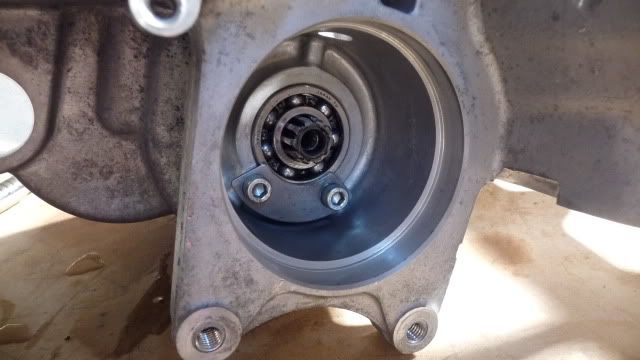
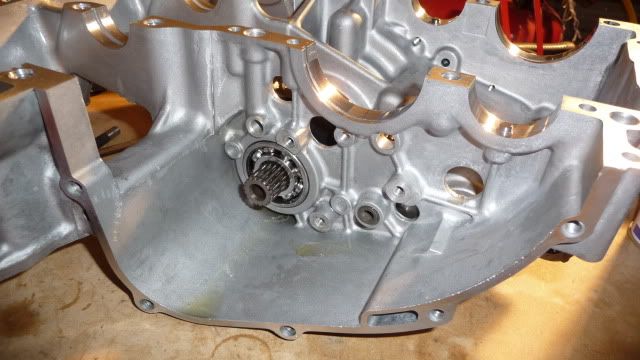
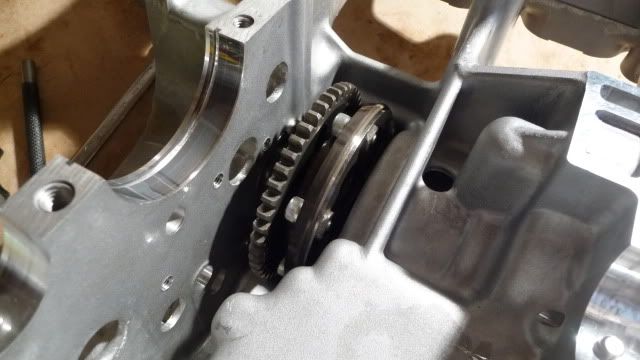
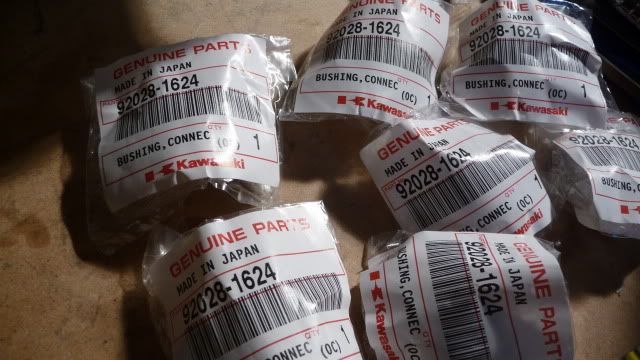
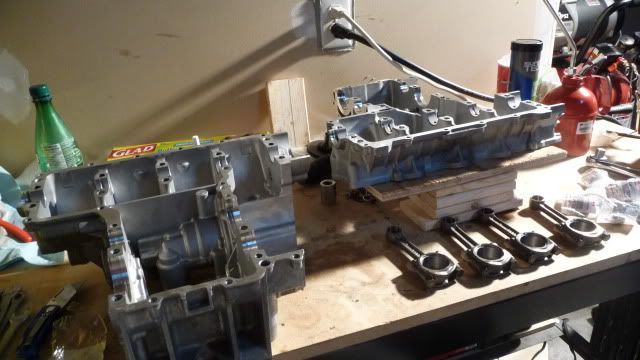
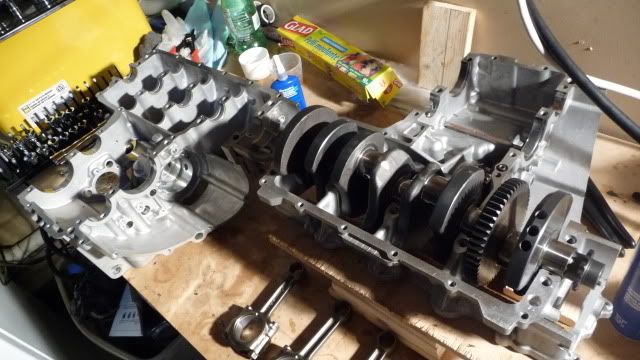
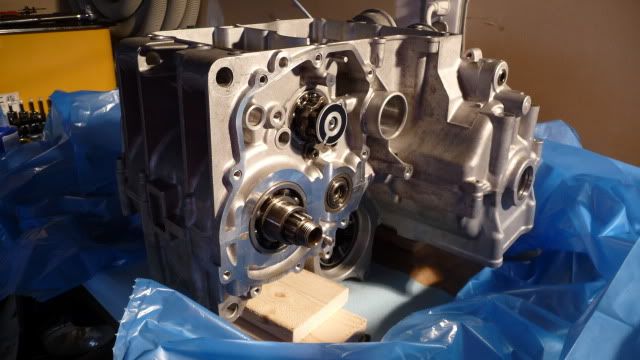
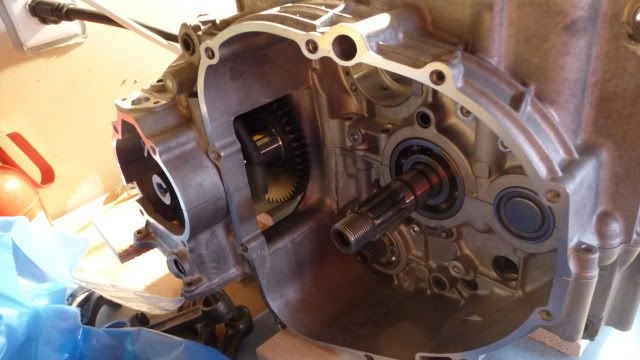
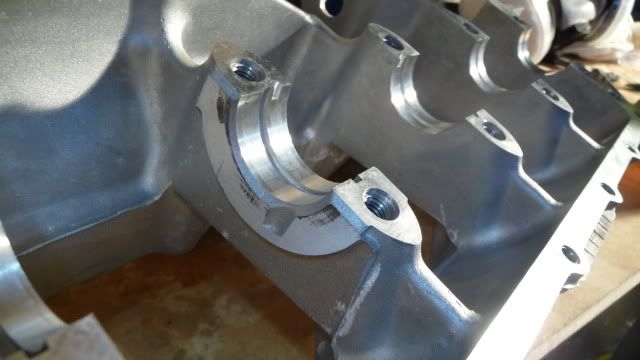
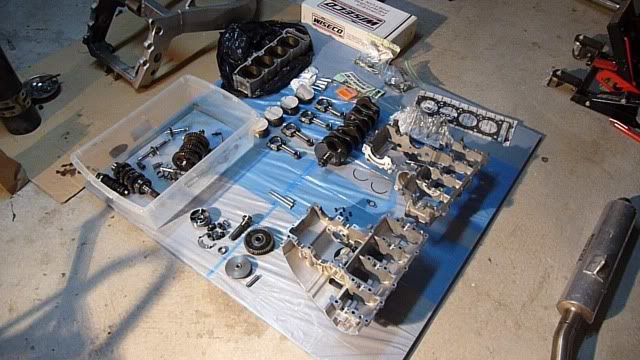
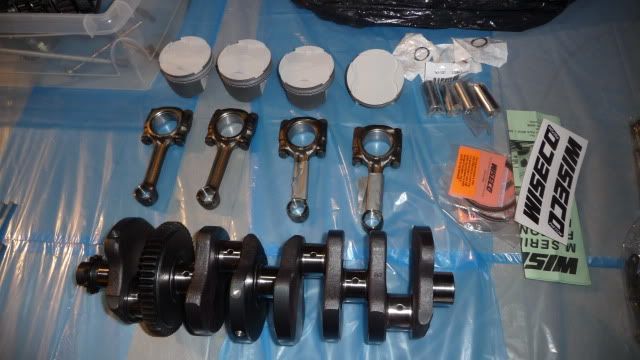
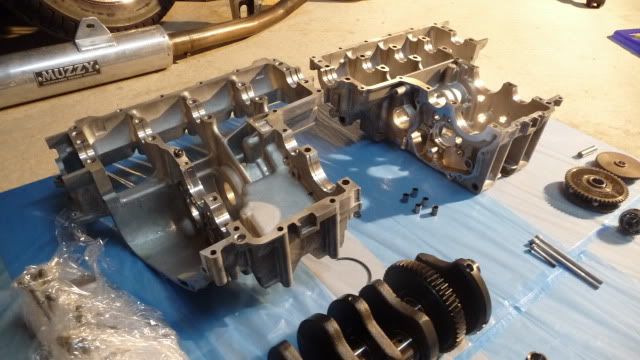
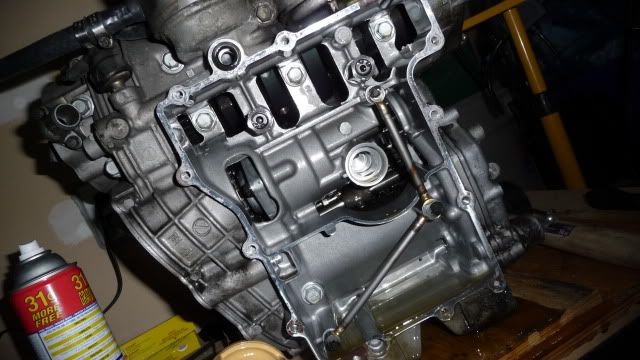
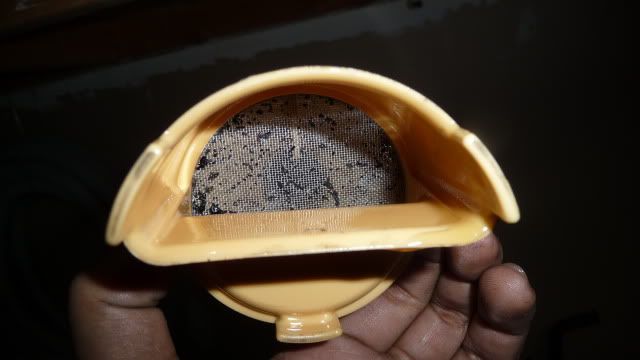
So like I mentioned in my last post the first order of business was to install the alternator shaft which required an interference bearing to be pressed into the clutch side of the upper crank case. This turned out to be a huge pain. Heating the case and cooling the bearing didn't work. I even tried to make a half-assed bearing press which not only failed to press the bearing into place but did more harm than good.
 |
| This reeks of fail |
Pictured above is a simple bearing press like any other home made device. You have a threaded rod, the bearing is fitted against a socket as shown and on the other side we have a washer to serve as a solid surface.
 |
| Oh damn, the stench of fail is overwhelming the senses |
But what could go wrong with such a simple contraption? Well when the designer is a fucking moron (yours truly) apparently a lot can go wrong. Long story short, I torque the end with the socket, the bearing starts to slide in a bit and the next minute I realize the washer pictured above had got bent and pulled through the hole it was sitting in.
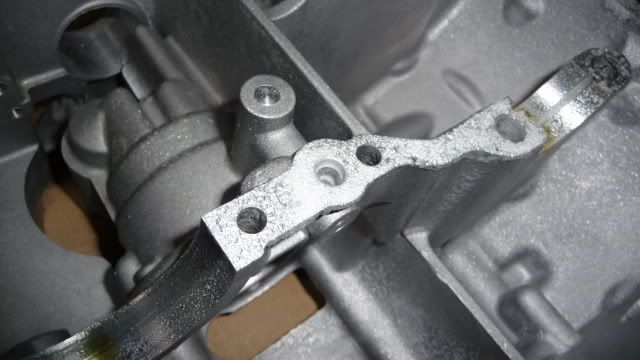
FUUUUUUUUUuuuuuuukkkk!!!!! At least that was my initial reaction. Upon closer inspection about half a mm of aluminum got taken out of the lip and no substantial damage was done.
 |
| See? No harm done here, moving along then.... |
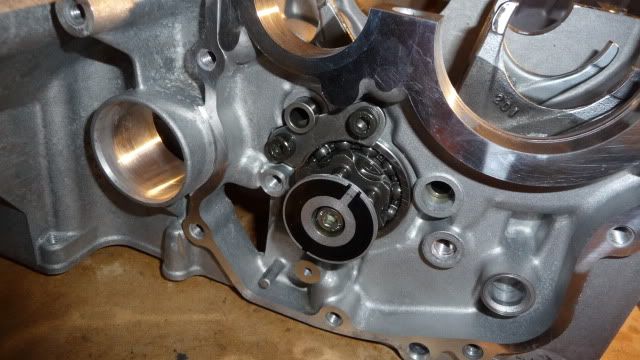
How did the bearing finally get put in place? Well I brought it to a local shop and by gently tapping the bearing with a socket, the dude got the bearing to slide right in.... I was overcome with shame, awe and relief. I imagine this is what people feel when the suffer from premature ejaculation; something real men like me don't have to worry about har har har
 |
| This bearing is responsible for ruining my life |
 |
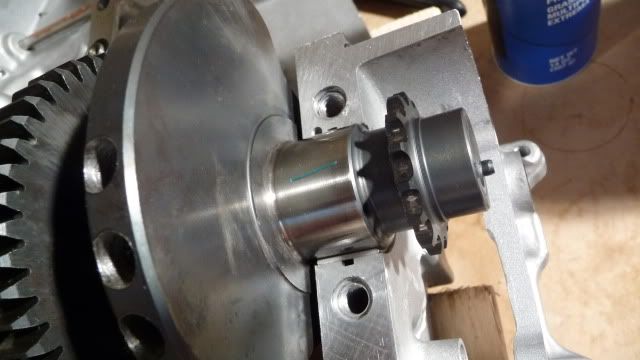
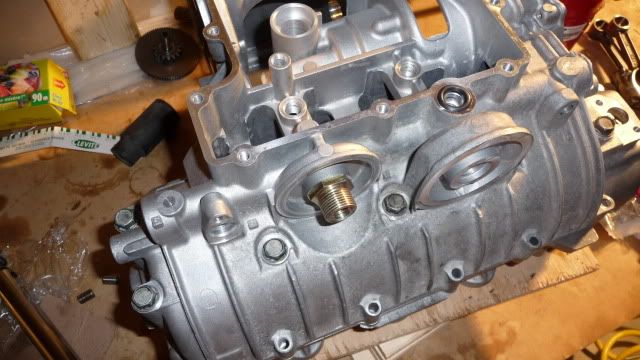
| Yayy!!! All put together now :) |
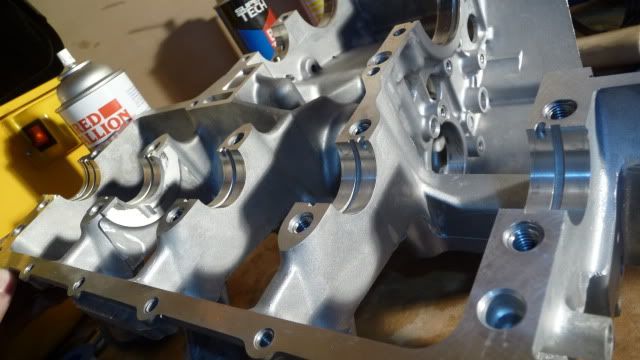
I turn my attention to the crank and bearings while the transmission is still out; makes mating the case halves much easier.
 |
| So much wasted plastic |
 |
| Alright, LETS DO THIS!!! |
 |
| Crankshaft, check... |
 |
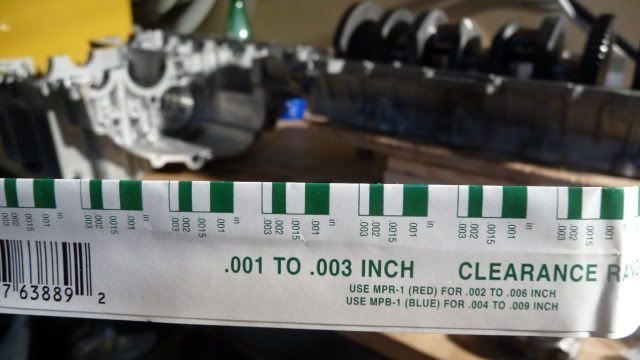
| Knockoff plastigauge, check ... |
 |
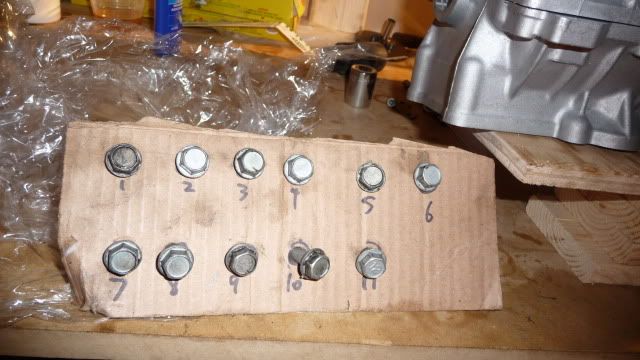
| Engine bolts, check |
 |
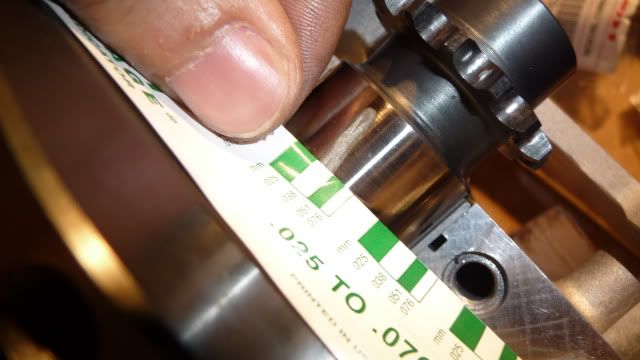
| Why, hello there Mr. Plastigauge ... |
 |
| *crunch* |
 |
| ~0.040mm ... well, a tad on the loose side but well below the maximum |
Anyways I move on to the transmission starting with *drum roll*
 |
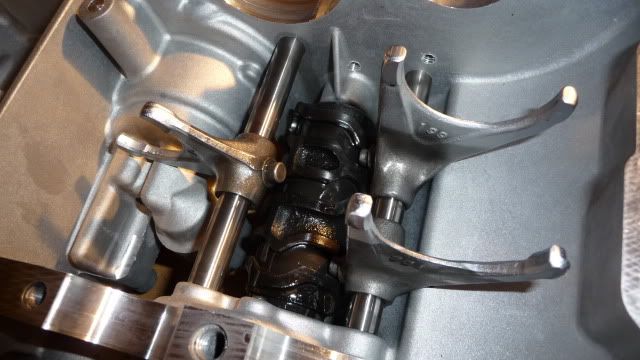
| ...the shift drum... |
 |
| ...and shift forks |
 |
| Next I take a look at the main shaft and ... |
 |
| ... WTF HAPPENED HERE!??! Lucky for me I bought half a spare motor |
 |
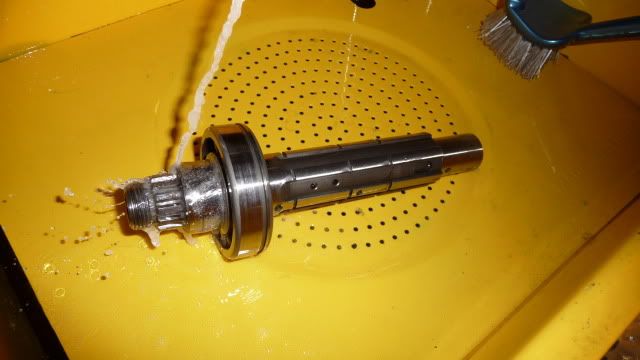
| Thats me peeing on the main shaft... |
 |
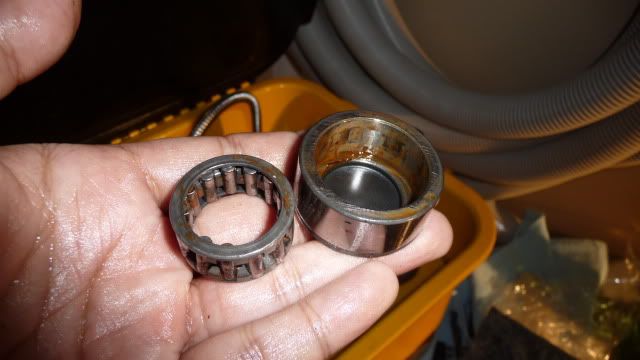
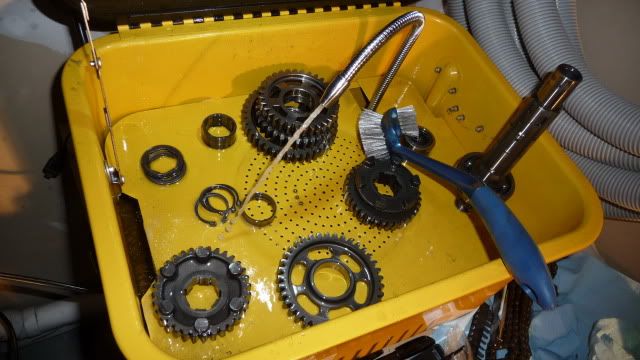
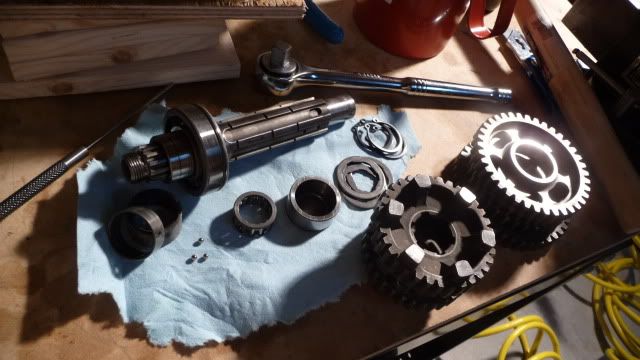
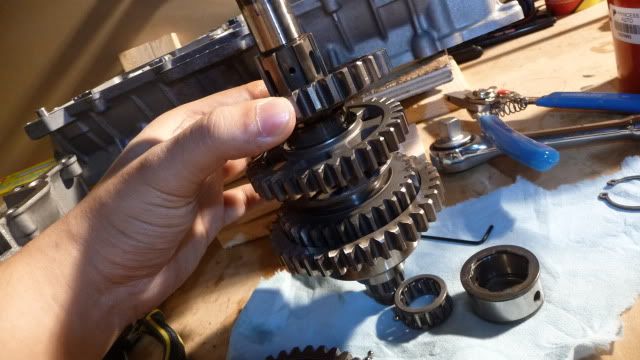
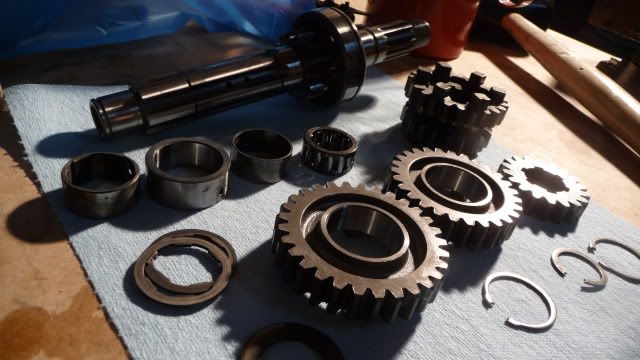
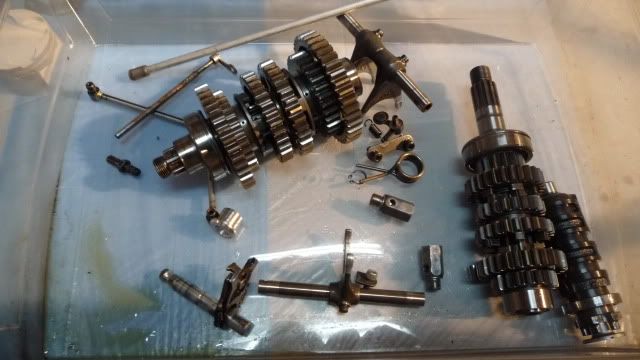
| All the main shaft components in their glory |
 |
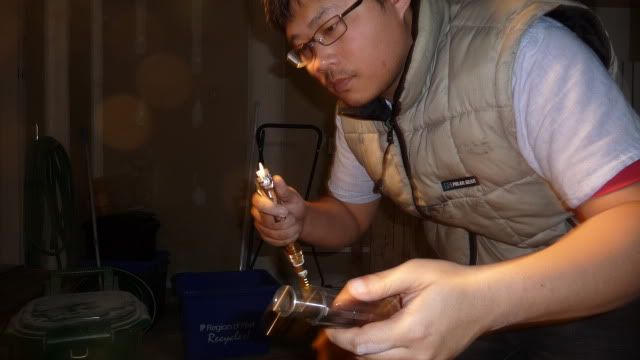
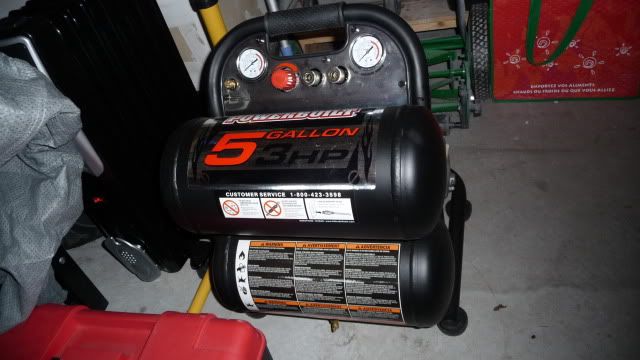
| Now that I have a (small) parts washer and air compressor, I don't know how I ever lived without them |
 |
| Cleaner than a shaved beaver. Note the ball bearings, I nearly lost them TWICE! Yes I'm that retarded. |
 |
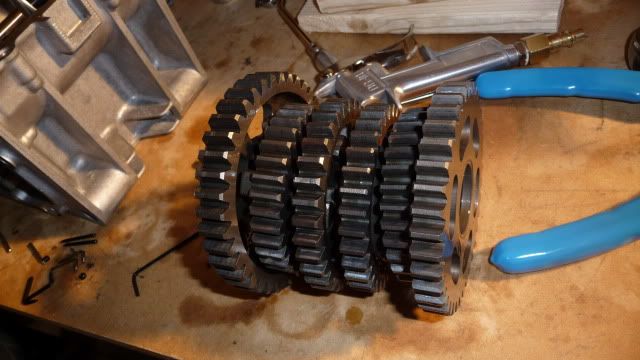
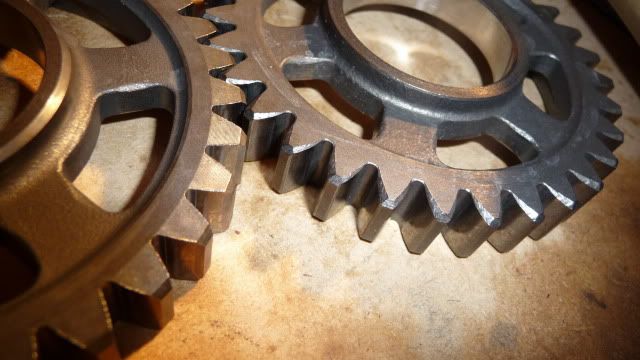
| The gears look to be in good shape... |
 |
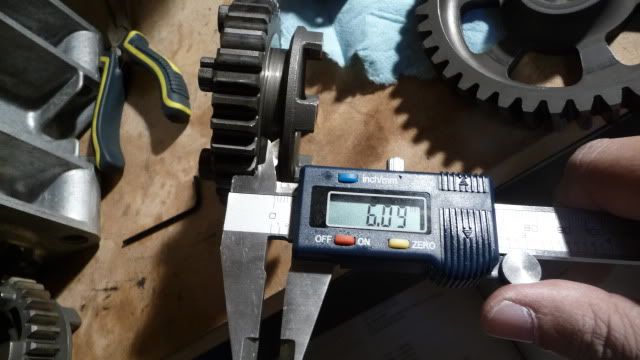
| ...and the fork cavities look to be within spec |
 |
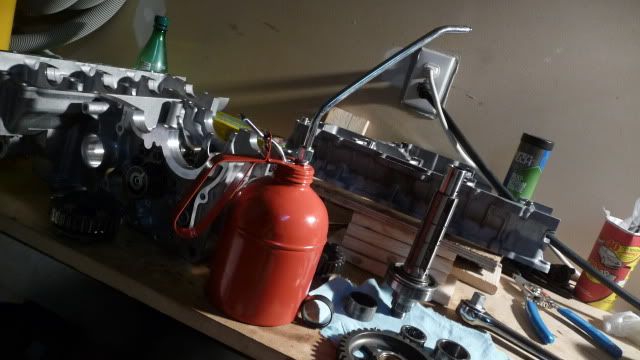
| Now all we need to do is add some engine oil ... |
 |
| ... and we're off. Note the heavy(ier) duty snap ring pliers; the transmission shafts are a massive pain |
 |
| Done. |
 |
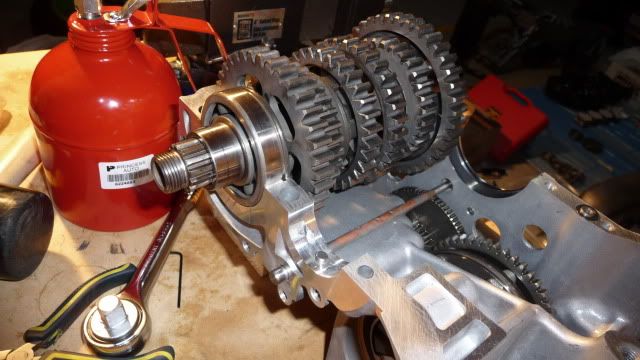
| Into the engine we go now. |
 |
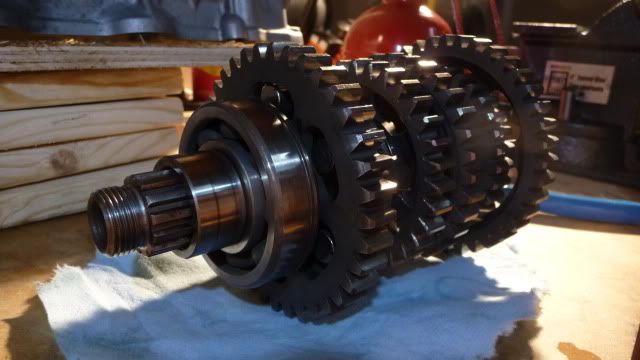
| Now for the output shaft |
 |
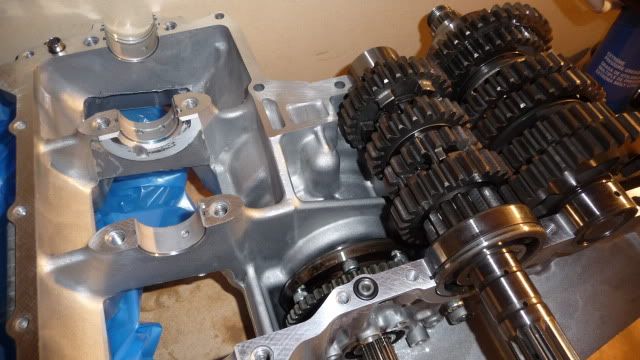
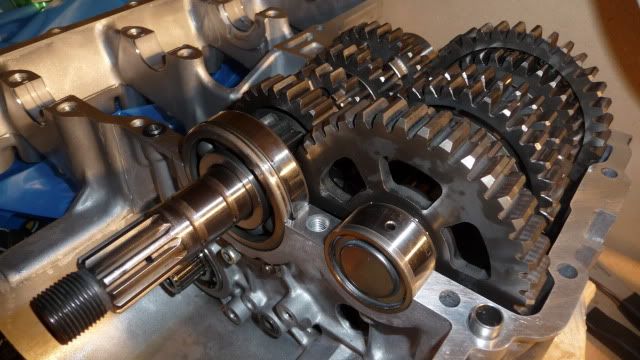
| Doesn't that just look magical? New bearings, fresh gears, clean aluminum and... oops I just messed up my pants |
 |
| Here's some more tranny porn for your fapping pleasure |
 |
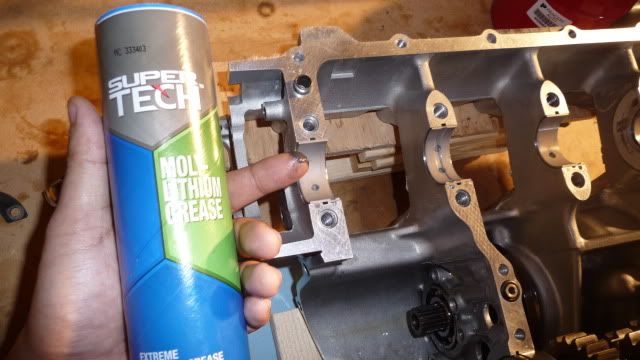
| Next I do a test fitting of the crank shaft, crank case, and transmission starting with some molly grease |
 |
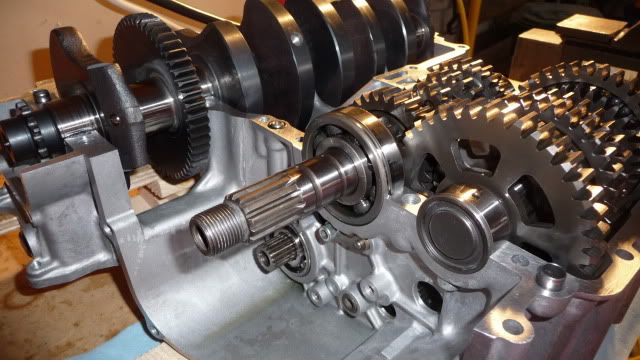
| With the crank shaft in and gears in neutral, I mate the two halves together |
 |
| PRESTO!!! |
 |
| Everything looks (and feels) about right |
So my next step is to find a high quality and calibrated torque wrench to torque up the rod bolts as well as the case bolts. The shitty Canadian tire and Harbor Freight stuff just isn't giving me all the confidence in the world right now. Plus I'm curious as to how a better torque wrench will effect my oil clearance readings....
Until next time.
Picture Album 1
Picture Album 2