With riding season in full swing I've found it increasingly difficult to find time to work on the J2. Between rides to cottage country and doing crap around the house, the J2 has a hard time getting on my calendar.
 |
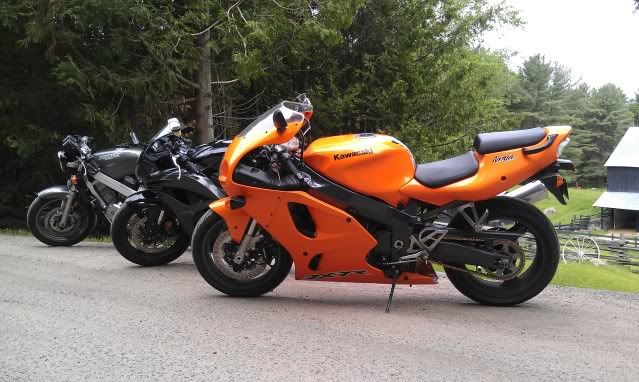
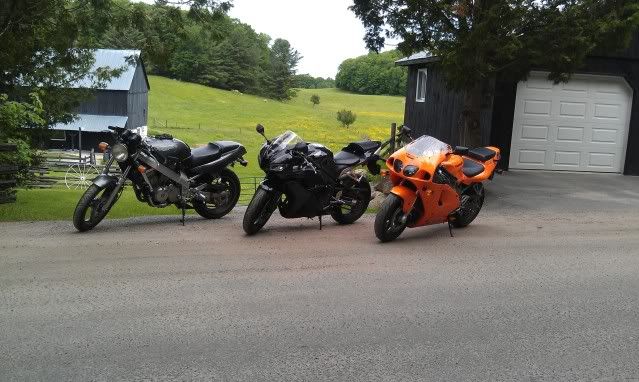
| Fast bikes ... |
 |
| ... sweeping hills ... |
 |
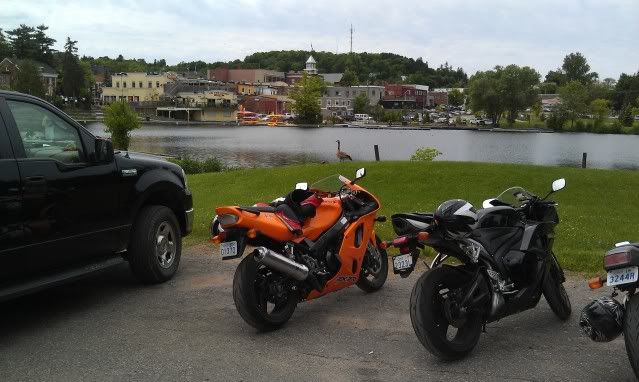
| ... peaceful lake towns ... |
 |
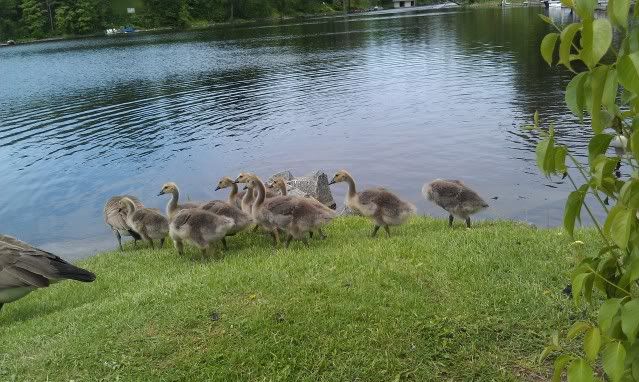
| ... and ducklings! Its a good summer :) |
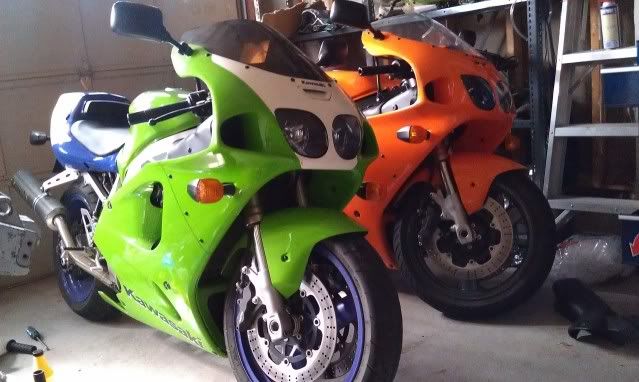
On top of all that I bagged myself a ZX7 N1!
 |
| The first and last generations of the ZX7 P/N |
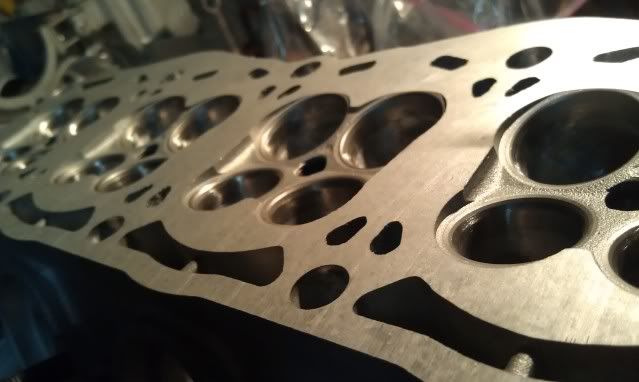
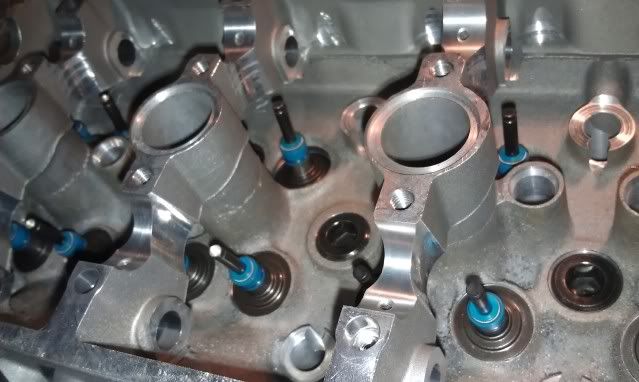
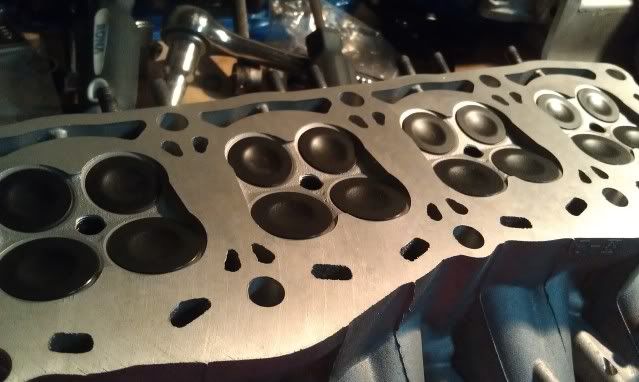
Anyways, about a month back, I had my cylinder head and valves machined. The cylinder head had its mating surface leveled and ports ground down a bit to help with flow into and out of the engine combustion chamber. The valves got a two angle cut. All the work came out to roughly $200.
 |
| Clean! Hard to see, but those ports have been rounded out |
 |
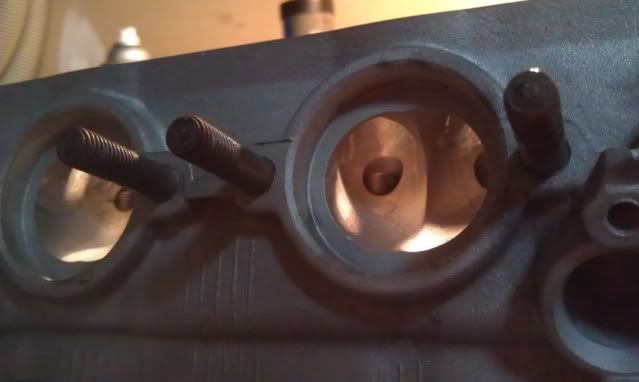
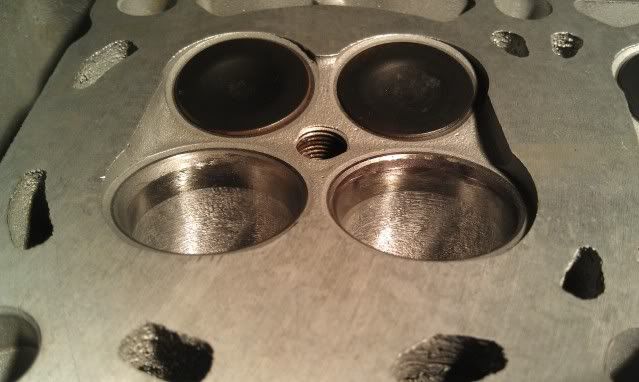
| Looks cozy in there |
 |
| Can you see the two angles? ... well its there! |
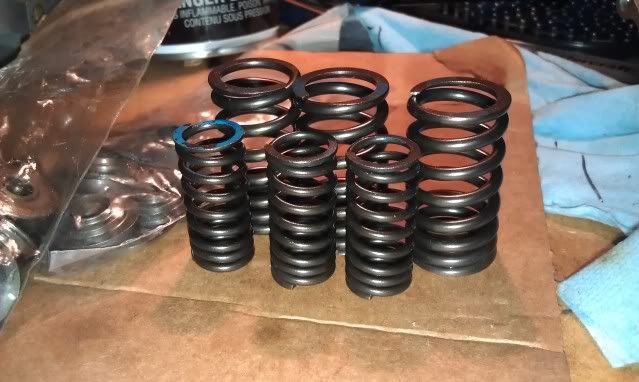
Other goodies include fancy new
BLUE valve seals and valve seats, caps, and springs off of a ZX7 K1.
 |
| Dear lord they're SO BLUE!! Nothing says 'aftermarket' like fluorescent, flamboyant colors. |
 |
| ZX7 K bits! Neat! |
So now I get to put all this stuff together which was a massive pain. Lots of small pieces to get lost and plenty of nooks and crannies within the head itself for things to hide. The fact that there are 16 valves just multiplies the grief.
 |
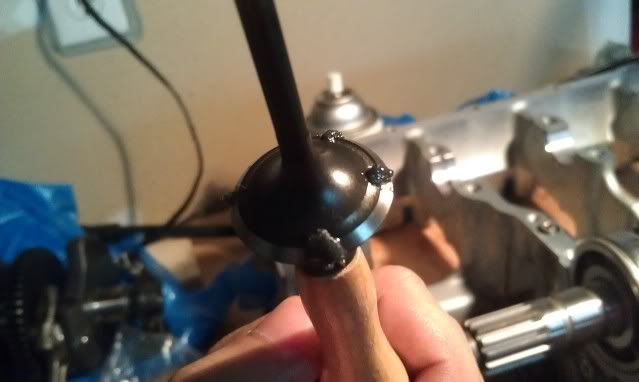
| Nothing like some good 'ol fashioned valve lapping to bore to you sleep at night |
 |
| ZZZZZ... zzzzzzz... |
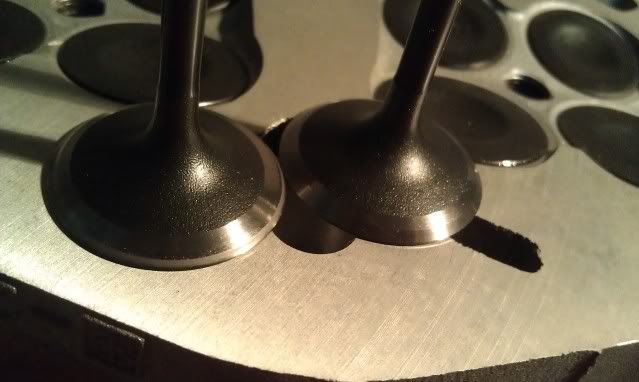
 |
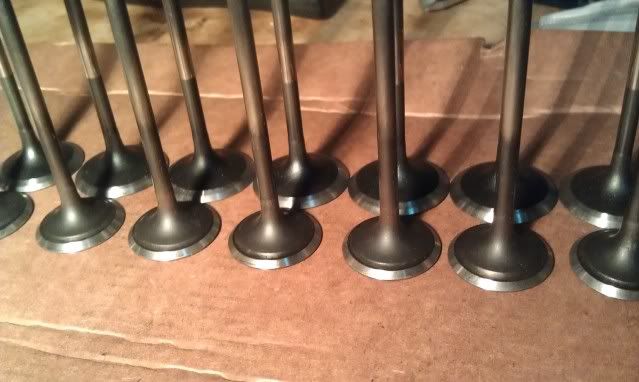
| All that ass pain gets you a hazy ring around your valve seats as demonstrated by the valve on the left |
 |
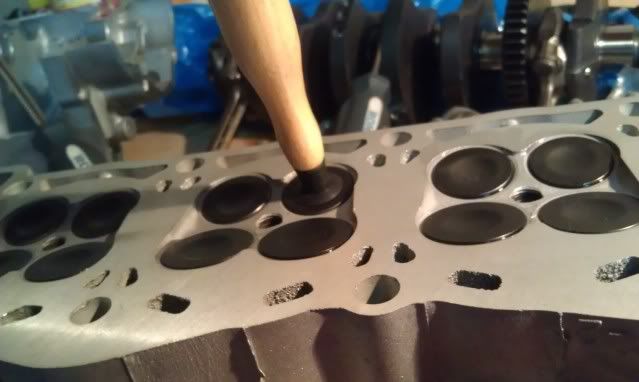
| The same effect can be seen on the valve port (left is lapped) |
 |
| Just repeat that 16 times and your done! |
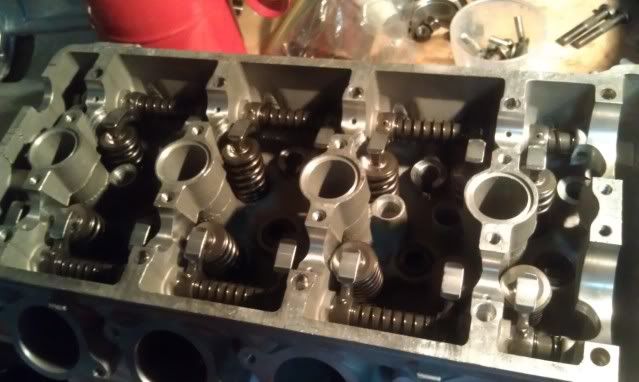
Next, it was time to get the springs back in the head. Installing the valve locks was the BIGGEST pain in the ass EVER. They're so bloody tiny and you've gotta manipulate them with tweezers in this confined space within the valve spring compressor. I've lost count of the number of times I had them squirting out form between the tweezers and shooting across the room. This is usually followed by a flurry of curses followed by 10-20 mins of crawling around my garage looking for a piece of metal approximately 5x5mm. Grrrr
 |
| Half way there |
 |
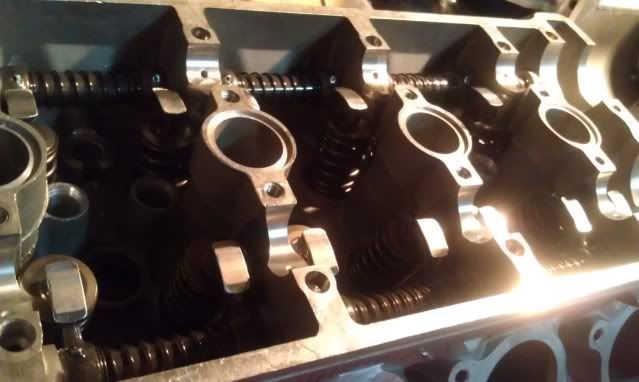
| GOAAAAAAAAALL! |
 |
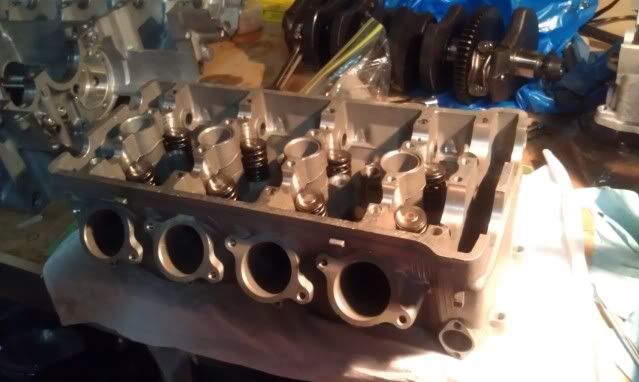
| Sexy blooming effect :) |
Installing the rocker arms afterwards was simple in comparison.
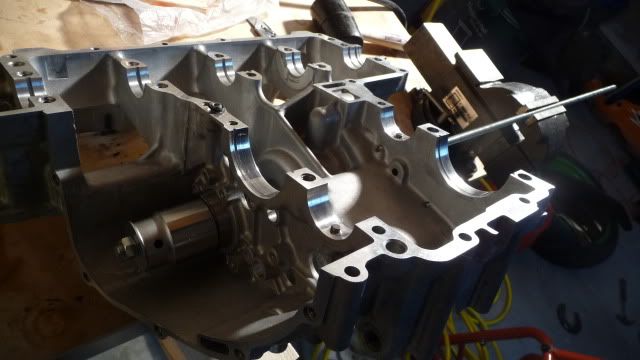
 |
| Rock out with your block out! |
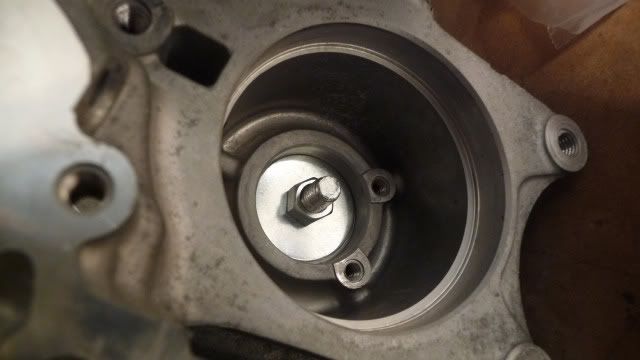
 |
| More blooming sexiness |
You probably haven't noticed but the resolution of all these pics are different from ones in my previous post. That's because I got a new HTC Incredible S which has a 8 megapixel camera! That's right all these AWESOME pics were taken with a freaking PHONE!!!! Win.
Visit my Photobucket page
here,
here and
here for more pictures related to this post.